
 17 Oct 2026
 10 min read
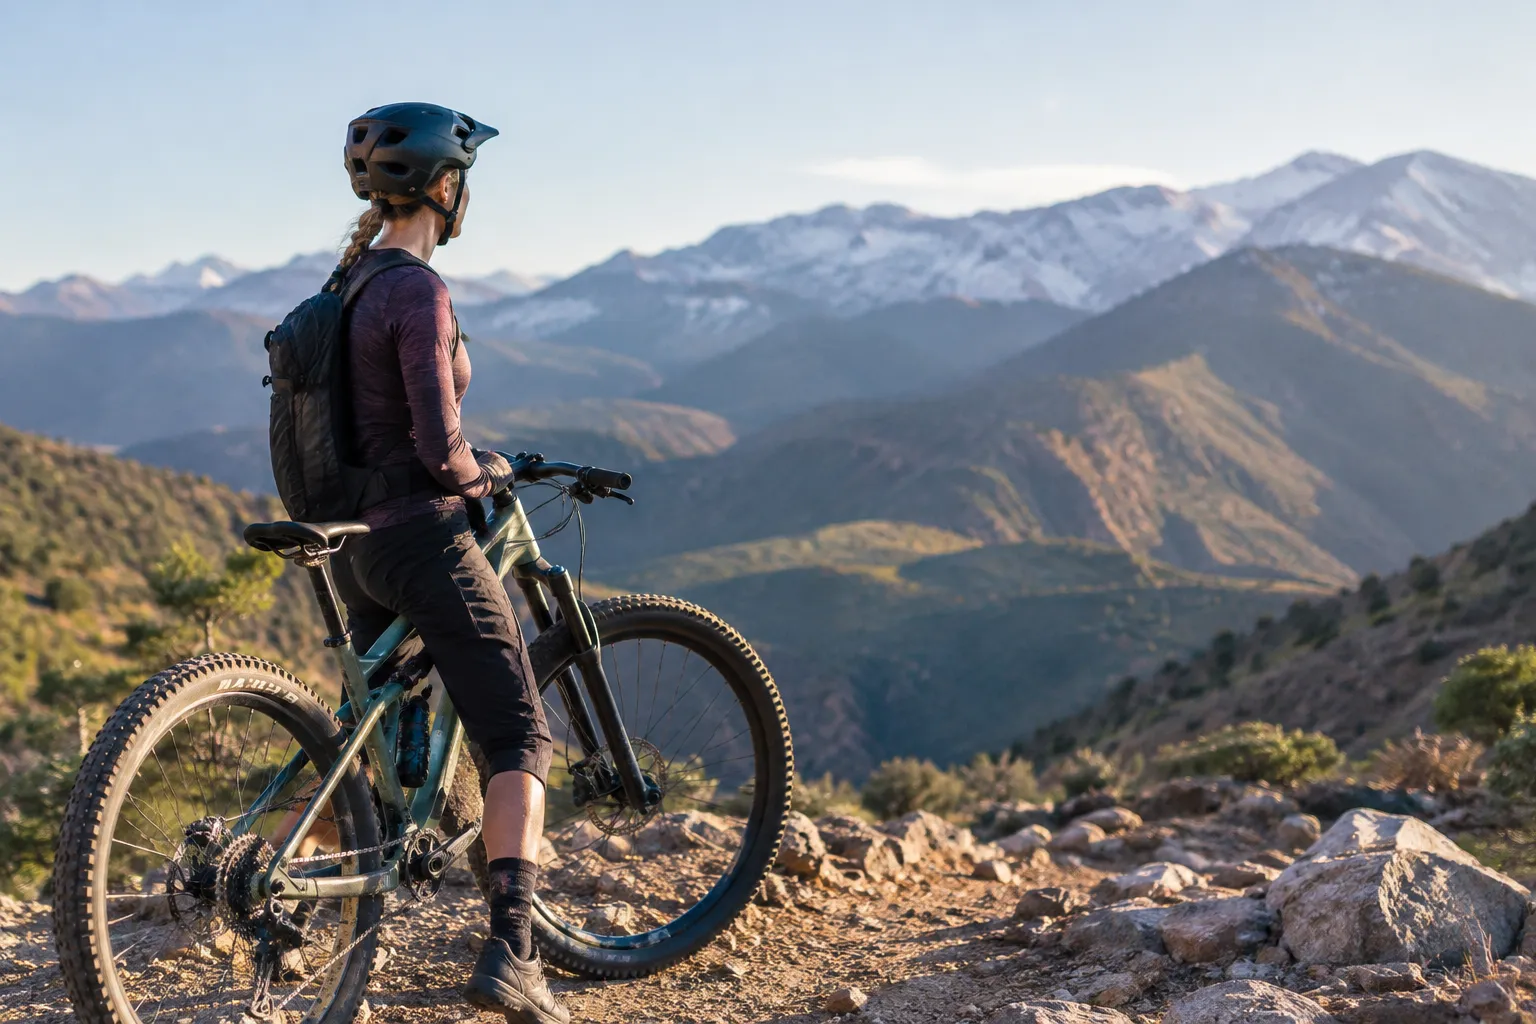
Mountain biking, often shortened to MTB, combines off-road riding with the skills and equipment needed to handle changing terrain. If you are new to it, the best starting point is not the most technical trail or the most aggressive bike: it is a comfortable setup, a route suited to your current ability and steady practice with the basics.
What MTB means and how mountain bikes differ
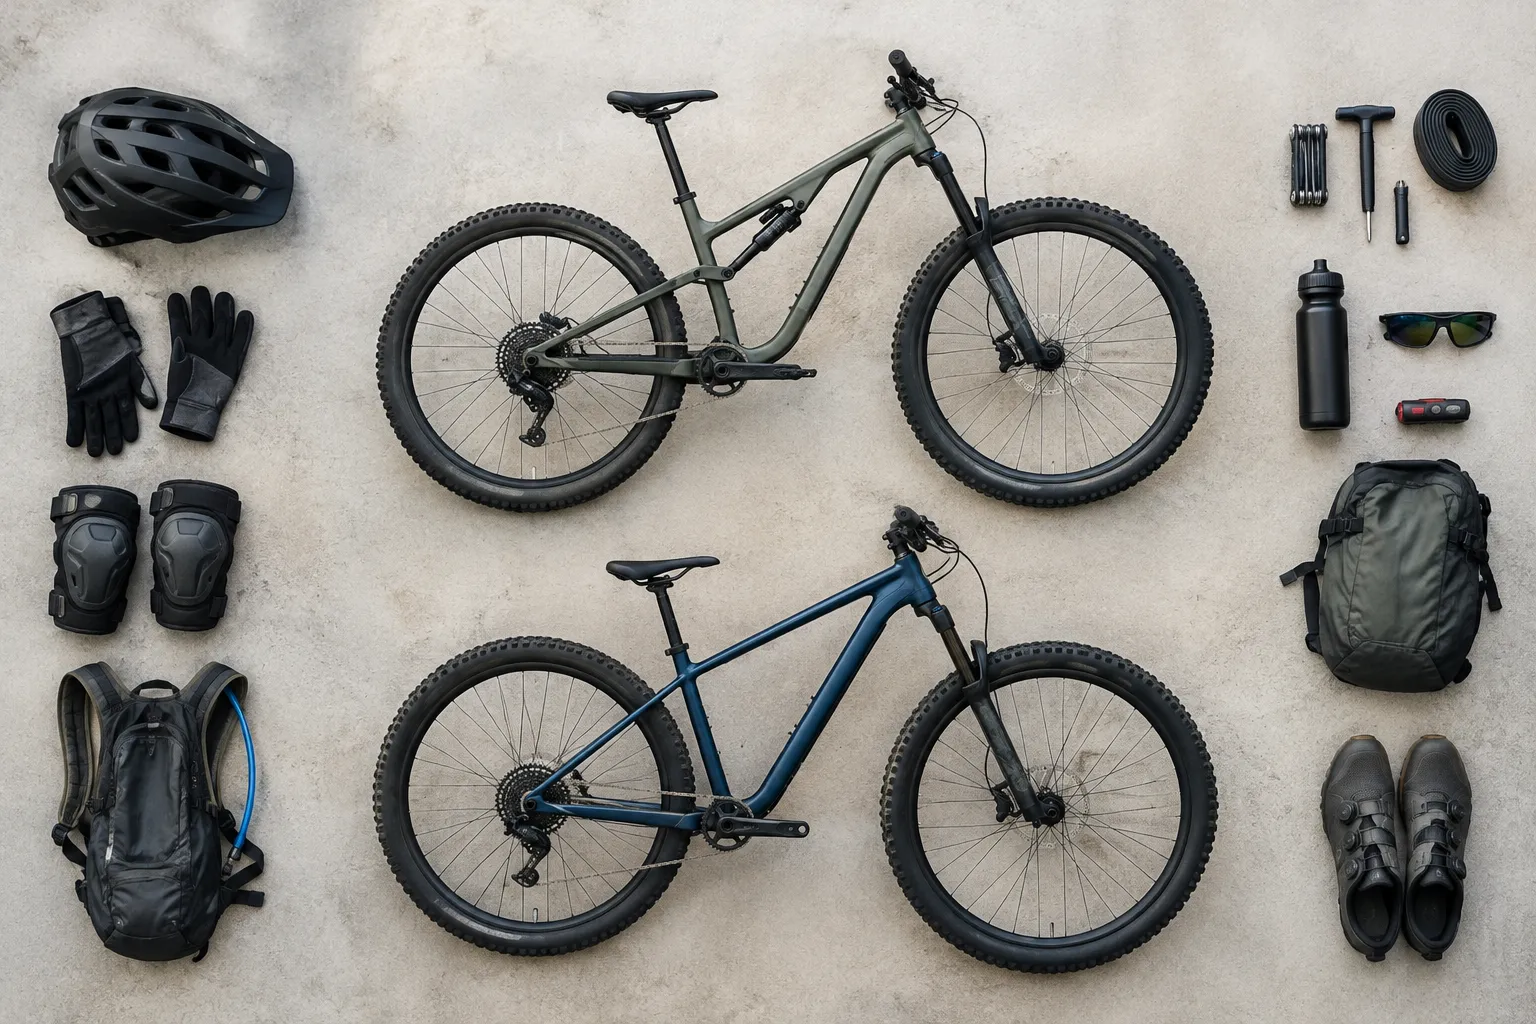
MTB can mean mountain biking as an activity or a mountain bike itself. A mountain bike is designed for off-road surfaces such as dirt, gravel, roots and rocks. Compared with a typical road bike, it generally has wider, knobbier tyres for grip, a more upright riding position and components intended to cope with rougher ground.
Many mountain bikes also have suspension. A front suspension fork helps absorb impacts at the front wheel; full suspension adds a rear shock. Some bikes are rigid, with no suspension, or use a suspension fork only. The right arrangement depends on the terrain, ride style and preferences of the rider—not simply on whether a bike is labelled “mountain.”
Mountain bike handling relies on more than the bike. Riders need to read the surface, control speed and choose a line that fits their ability. Loose stones, embedded rocks and sudden changes in gradient each call for slightly different decisions. Practising assessing trail terrain can help you notice those changes early and make deliberate choices rather than reacting at the last moment.
An electric mountain bike, or mountain e-bike, adds motor assistance while you pedal. It still requires balance, braking and line choice, and its handling and weight can feel different from a non-electric bike. Assistance can help on climbs, but it does not remove the need to assess the route or manage effort and battery use.
MTB bike categories and the terrain they suit
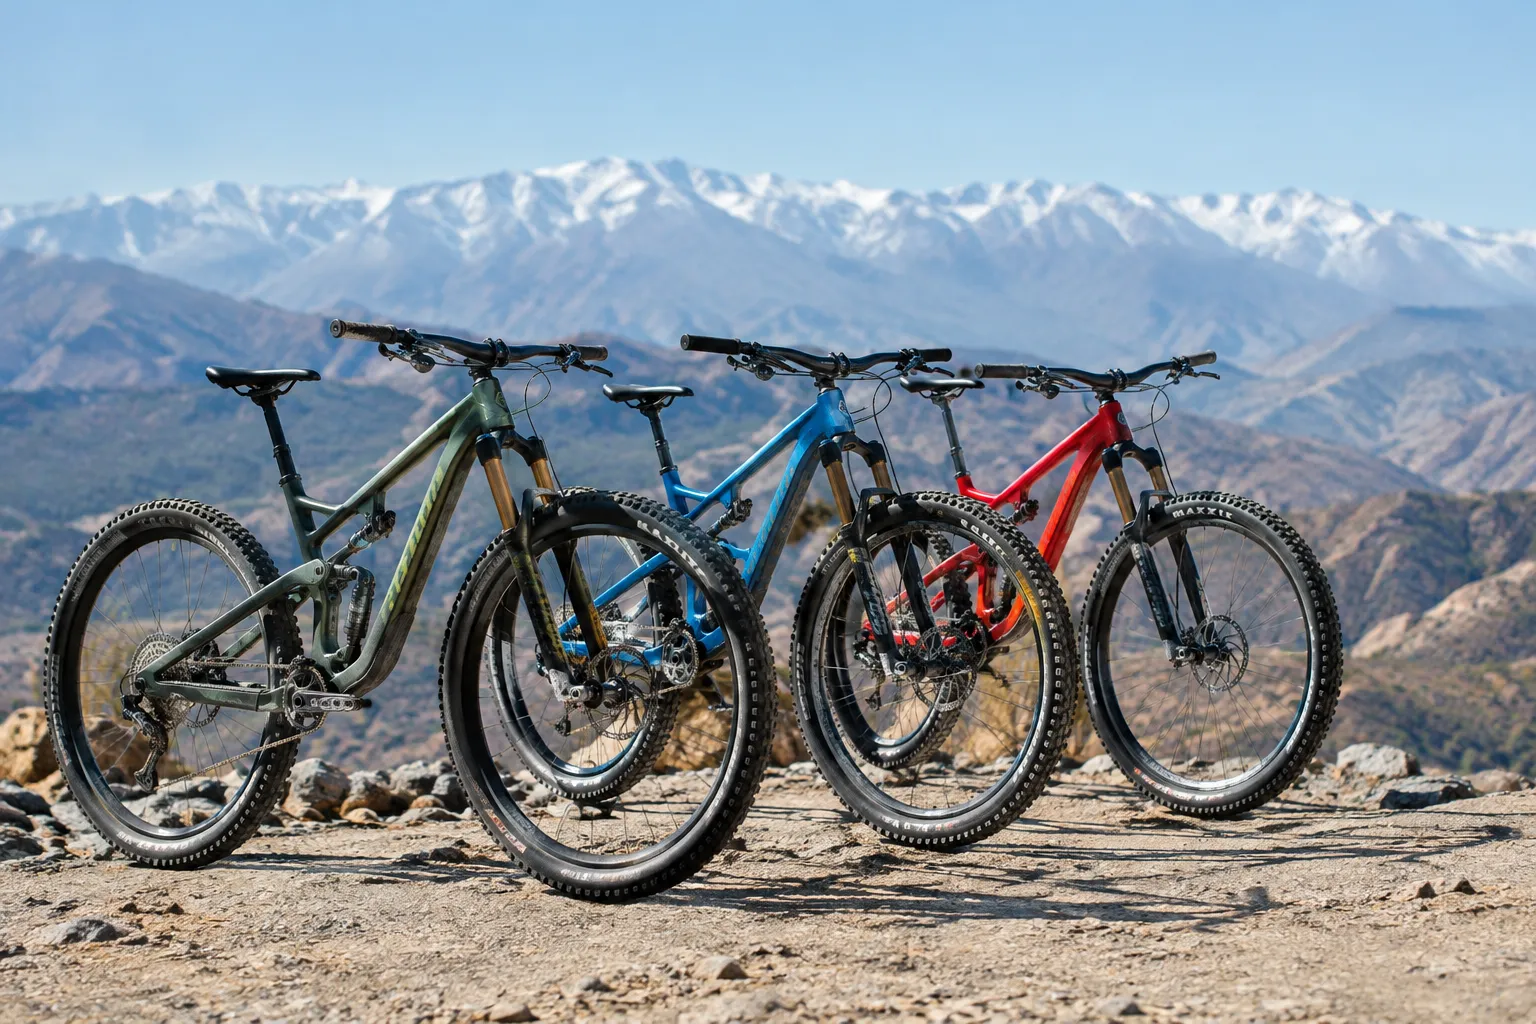
Bike categories are useful shorthand, not strict rules. Manufacturers may use labels differently, and two bikes in the same category can still have distinct designs. Treat the category as a clue to the bike’s intended style of riding, then check its fit and details against the routes you plan to ride.
- Cross-country bikes are generally aimed at covering distance efficiently on trails, including climbs and rolling terrain. They may suit riders who value a lighter, more efficient feel over a bike designed primarily for rough descents.
- Trail bikes are intended as versatile all-rounders for a mix of climbing and descending. They may be a practical starting point if you expect varied trails rather than focusing on one type of riding.
- Enduro bikes are designed with demanding descents in mind while still being ridden uphill to reach them. Their downhill-oriented character may be more bike than a beginner needs for smooth or gently rolling paths.
- Downhill bikes are built for steep, rough descents, often on routes where riders do not need to pedal uphill. Their focus can make them less convenient for general riding and long climbs.
- Electric mountain bikes use pedal assistance to support off-road riding. They can suit riders who want help on climbs or longer routes, but the added assistance does not substitute for bike-control skills or route planning.
Consider what you will ride most often, not the most dramatic trail you might try once. For example, a rider spending most of a day on rolling trails may have different needs from someone whose regular rides centre on steep, rocky descents. A bike such as the Rockrider XC 100 S can serve as a concrete example to examine while learning how a particular model is presented. Check the bike’s intended use, fit guidance and component details rather than assuming its category answers every question.
Choose a bike for your first trails
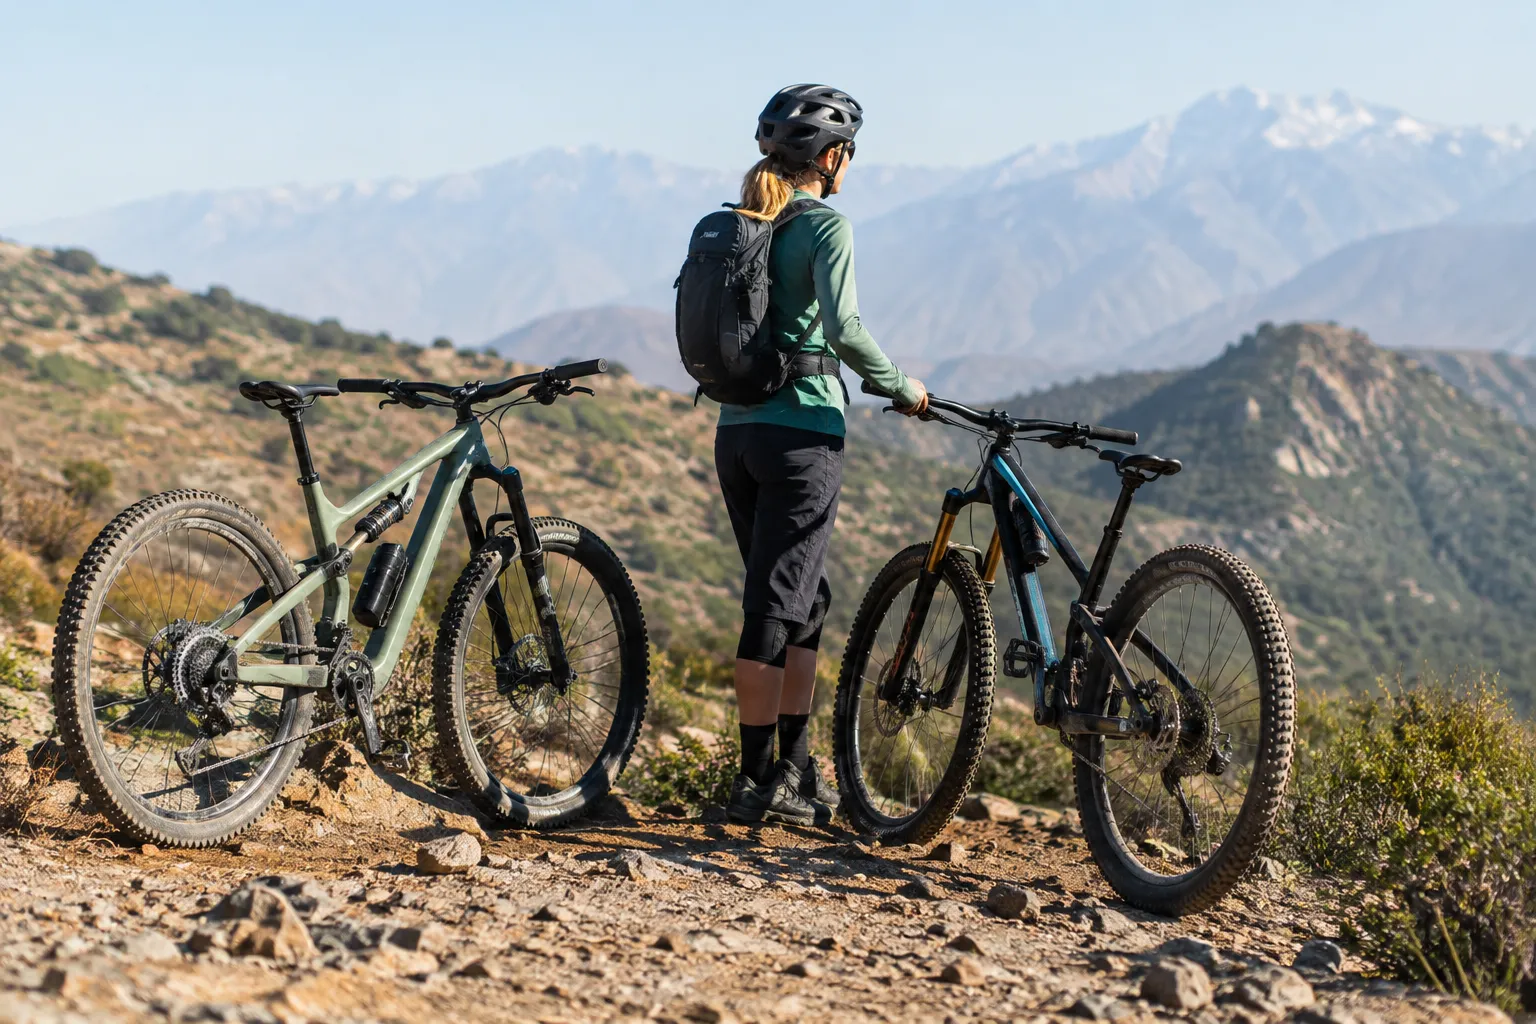
Start with the routes you are likely to ride and the type of outing you want. If your first rides will be on broad, less technical paths, an aggressive downhill-focused bike may be unnecessary. If you expect steep, rocky trails, consider whether the bike is designed for that kind of terrain and whether you have the skills to ride it with control.
Comfort matters. A bike that feels awkward to reach, steer or stand on can make learning harder. Use the manufacturer’s sizing guidance as a starting point, and if possible get help checking the fit in person. Pay attention to whether you can reach the controls easily and move around the bike without feeling cramped or stretched. Fit depends on the individual rider, so avoid choosing by height alone when more detailed guidance is available.
Also think through the trade-offs that affect everyday use: suspension type, tyre style, gearing, brakes and, for an electric bike, how assistance fits the planned ride. These are areas to compare, not reasons to chase a particular specification without considering the route. For sizing and component detail, consult the separate bike-choice guide.
Route conditions can influence your decision as much as the bike category. A route profile can help you consider how much climbing, descending and varied ground an outing involves. The Trail Route Profiles page offers more context for thinking about route character across the Atlas region.
Before a ride, check that the bike is in working order. Make sure the brakes operate, tyres are in good condition and wheels are secure. If you are hiring or riding as part of a guided outing, ask what bike options are available and how the route difficulty is matched to riders. A clear conversation about your experience and comfort on rough ground is more useful than choosing a bike based on its label alone.
Build skills for rocky and varied trails
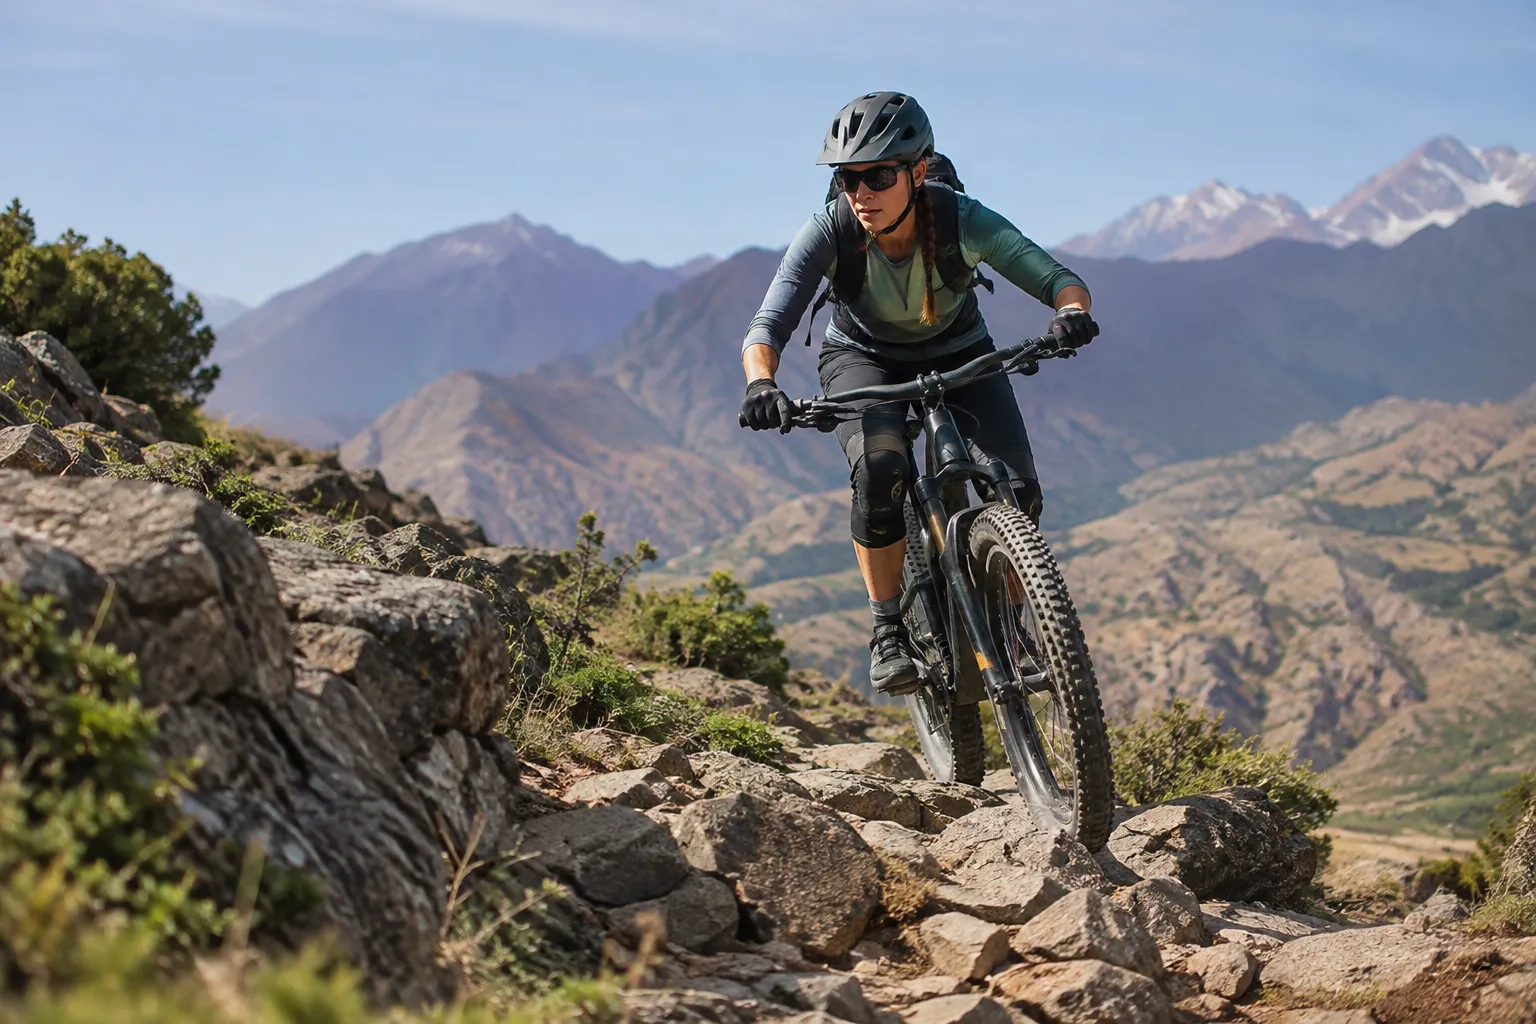
Skills improve through practice on terrain that allows you to focus on one task at a time. Begin on a comfortable, low-consequence trail and build up gradually. The same fundamentals matter whether you ride a standard mountain bike or a mountain e-bike; assistance can change the feel of pedalling, but it does not change the need to steer and brake with care.
Balance, body position and looking ahead
Keep a relaxed grip and allow your arms and legs to move with the bike. On uneven ground, locked elbows and a rigid posture can make it harder to respond to bumps. Stay centred rather than leaning heavily on the handlebars, and use a stable stance when standing on the pedals. The exact position shifts with the trail, so practise moving smoothly rather than trying to hold one fixed pose.
Look towards where you want to go, not directly at the front wheel or the obstacle you are worried about. Looking farther down the trail gives you more time to spot changes and choose a line. On a narrow section, scan from the near ground to the next part of the route, then steer towards a clear, manageable path.
These habits are particularly useful on rocky Atlas trails, where the surface can change from firm track to loose or uneven ground. Start by riding a line you can see clearly and have room to adjust. If you cannot identify a comfortable route through an obstacle, slow down or stop to assess it.
Braking, shifting and climbing
Brake before a corner or difficult section when possible, then ease off enough to steer smoothly through it. Apply pressure progressively rather than grabbing at the levers suddenly. Both brakes help control speed; practise using them smoothly on easy ground so you can understand how your bike responds.
Shift into an easier gear before the trail steepens. Changing gears under heavy pressure can make pedalling feel abrupt and may strain the drivetrain. On a climb, aim for a steady cadence and stay seated when that helps maintain traction. If the rear wheel starts to spin, ease the effort slightly and choose a line with a firmer surface where possible.
On a mountain e-bike, use assistance in a controlled way, especially when practising on loose or steep ground. The bike’s response can feel different depending on the assistance setting and surface. Get familiar with the controls somewhere manageable before relying on them on technical terrain.
Descending rocky sections with control
Approach a rocky descent at a speed that leaves time to respond. Scan for a line with stable surfaces and enough space to steer, and avoid staring at a single rock. Keep your body relaxed and allow the bike to move beneath you while maintaining control of the handlebars and brakes.
If a section feels beyond your current ability, stop in a safe place and walk it. Walking is a sensible way to manage a difficult obstacle, not a failure. When practising, work up gradually: first learn to control speed on a straightforward descent, then try more uneven ground when you feel ready. Do not follow another rider into a feature simply because they have cleared it.
Pack essentials and share the trail responsibly
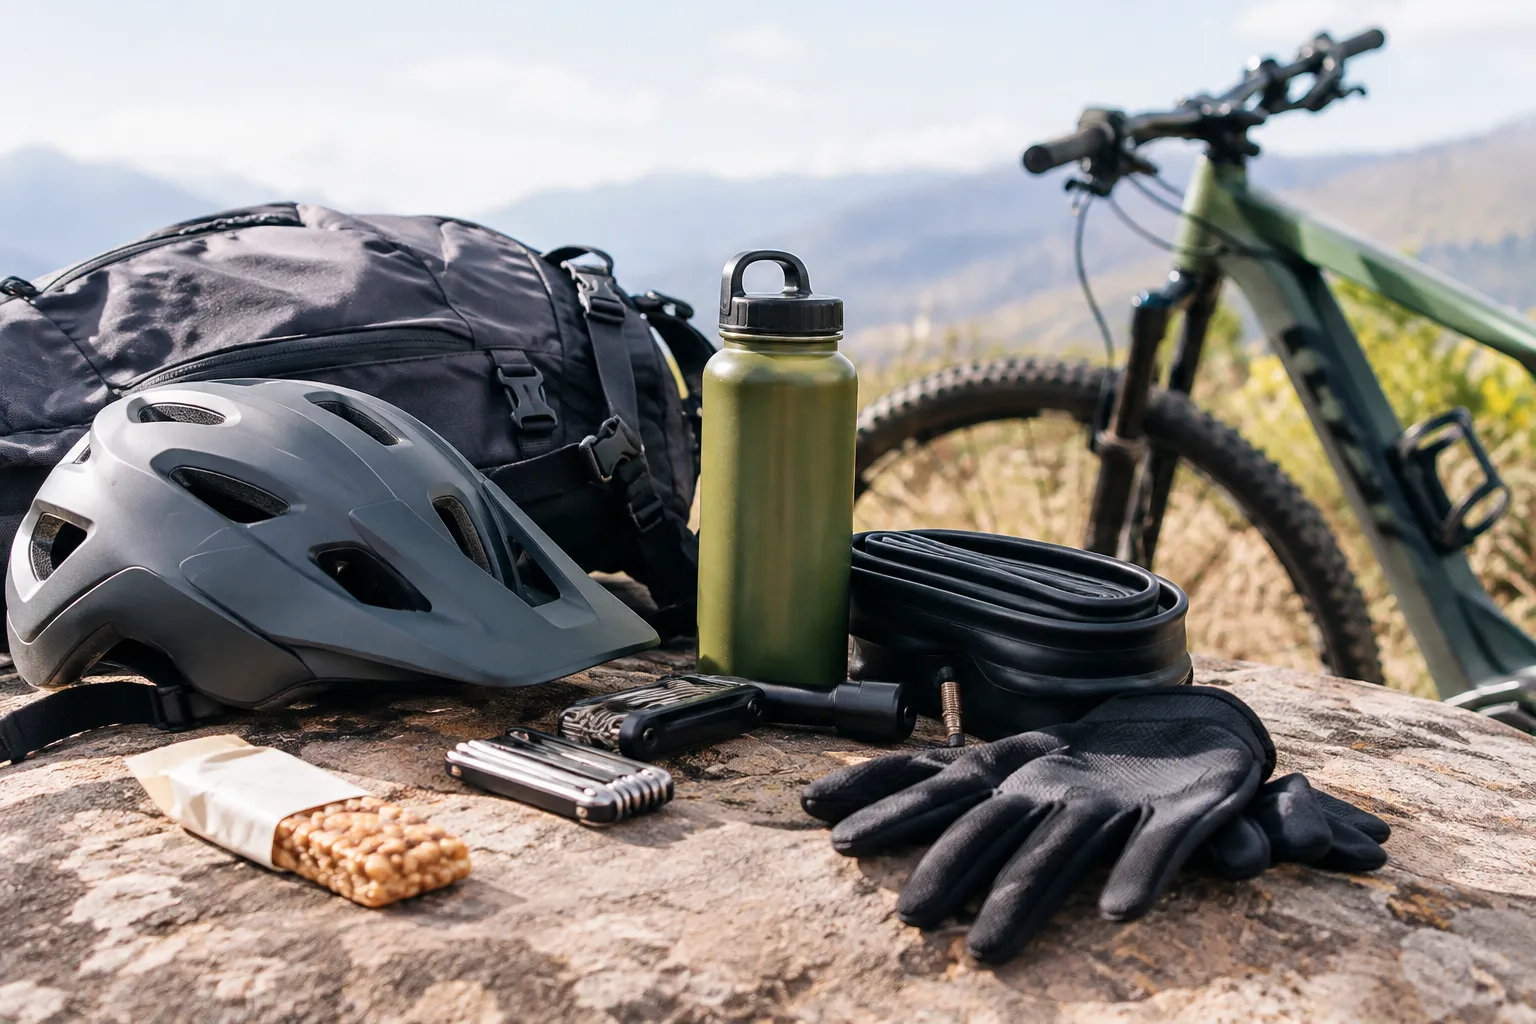
What you carry depends on the route, weather and length of the outing. For a basic ride, consider taking:
- A properly fitting helmet and any other protective equipment appropriate to the terrain.
- Water and food suited to the duration and conditions.
- A phone or another way to communicate, with route information accessible before you set out.
- A small repair kit, including a spare tube compatible with your wheel and tyre, tyre levers and a pump or inflator.
- A multi-tool suitable for common adjustments on your bike.
- Weather-appropriate clothing and any personal essentials you may need.
Learn how to use your repair items before relying on them outdoors. Check that a spare tube fits your wheel and that you know how to remove the wheel and replace the tube. For a longer ride, plan where you can stop and what support is available rather than assuming help will be nearby.
Trail etiquette helps keep shared routes pleasant and predictable. Give other trail users space, slow down when passing and make your presence clear without startling them. Yield courteously where appropriate, follow local signs and avoid riding on closed or restricted trails. If the surface is vulnerable or conditions make a route unsuitable, choose another path rather than causing unnecessary damage.
When riding with a group, leave room between riders so each person can respond to obstacles without pressure. Agree on a regrouping point and make sure everyone knows the planned route. On guided trips, discuss the pace and any concerns with the guide before the ride; communicating your comfort level helps the group make sensible decisions.
MTB basics FAQ
Are MTB and mountain bike the same?
Yes. MTB is a common abbreviation for mountain bike or mountain biking; the intended meaning depends on whether someone is discussing the bicycle or the activity.
How often should you clean a mountain bike?
Clean a mountain bike when dirt, mud or grit builds up, and after especially wet or muddy rides; wipe it down and check the drivetrain after routine outings. Avoid directing high-pressure water at bearings or other components.
How do you check mountain bike tyre pressure?
Use a tyre-pressure gauge or a pump with a gauge, and compare the reading with the tyre or bike maker’s recommended range. Adjust for the rider, terrain and tyre setup while staying within the stated limits.
What is the correct way to use mountain bike gears?
Shift before a steep climb or change in effort, and ease pressure on the pedals briefly as the chain changes gear. Choose a gear that lets you pedal steadily without forcing the drivetrain.
Can you ride an MTB on the road?
Yes, a mountain bike can be ridden on roads if it is in safe working condition and complies with local rules. Knobby tyres and an off-road setup may feel slower or less efficient on pavement than road-oriented equipment.
Do mountain bikes need different tyres for different trails?
Tyres can be chosen to suit the surface and riding style: tread and width affect grip and feel. Check that any replacement tyre is compatible with the bike and appropriate for the trails you plan to ride.
What should you do if your bike gets a flat on a trail?
Stop somewhere safe, check the tyre and remove any cause of the puncture if you can do so safely. Fit a compatible spare tube or repair the puncture, then check pressure before riding on.
Can beginners ride rocky mountain bike trails?
Beginners can try rocky trails when the route difficulty matches their skills and they can control speed and braking. Start with easier terrain, walk obstacles that feel beyond your ability and build up gradually.
Plan your next ride and keep learning
Build confidence by repeating the fundamentals on trails that feel manageable: look ahead, brake smoothly, shift before a climb and choose a clear line. As those actions become more familiar, you can assess more varied ground without rushing into difficult features.
When planning a ride in Morocco, consider how the route’s surface, climbing and descent match your group’s experience. A day ride near Marrakech, a trail in the High Atlas or a longer outing around Imlil can involve different terrain and demands; check the route details and ask how difficulty is assessed before committing. Riders planning a group trip can also discuss pace, experience levels and how the itinerary allows the group to ride together.
Keep learning about bike fit and setup alongside practice. A bike that suits the route and feels comfortable gives you a better base for developing control, but good judgement remains essential: choose terrain you can manage, take breaks when needed and walk sections that are not right for you.
Hannah Whitaker is an adventure travel editor with a background in outdoor travel writing and guided cycling trips. She specialises in mountain biking and trekking in Morocco, including routes around Marrakech, the Atlas Mountains and the Sahara. Drawing on local guides’ knowledge, she explains trail conditions, practical preparation and the cultural context of each journey. Her articles help riders assess whether a route suits their ability and plan a rewarding day or multi-day trip.