A 7-step self-assessment built around real Atlas Mountain route demands — altitude, heat, and technical terrain
Learn how to diagnose your readiness for multi-day mountain biking with a structured 10-day fitness check. Each step maps to real trail conditions — sustained climbs, rocky switchbacks, and arid heat — so you know exactly where to focus before your trip.
TL;DR
Generic fitness tests don't predict mountain readiness - Assess yourself against the specific demands of your route: sustained climbing, altitude, heat, technical terrain, and multi-day recovery
Run seven targeted diagnostics - Test your weekly volume, climbing endurance, altitude tolerance, heat/hydration response, technical handling under fatigue, back-to-back day recovery, and emergency kit readiness
Hydration and fueling are trainable skills - Target 500 ml to 1 liter of water per hour plus electrolytes, and 30 to 60 grams of carbohydrates per hour. Practice this on every training ride until it's automatic
Day-two legs are the real test - Anyone can have one strong day. Simulate consecutive riding days at 70 to 80% of route demands to see if your recovery holds up
Start 4 to 6 weeks out, not 4 to 6 days - Build volume gradually (no more than 20% increase per week), target your weakest diagnostic area, and run a final combined test two weeks before departure
What You'll Walk Away With
By the end of this tutorial, you'll have completed a structured, honest self-assessment of your readiness for multi-day, high-altitude mountain biking in the Atlas Mountains. You'll know exactly where your fitness stands against the real demands of the terrain: sustained climbs above 2,000 meters, loose rocky switchbacks, arid heat, and back-to-back riding days.
Your success criteria are simple. After running through each diagnostic step, you'll be able to confidently answer: Can I ride 40+ km per day at altitude, over technical terrain, in heat, for multiple consecutive days? If the answer is yes, you're ready. If not, you'll have a clear, targeted training plan to close the gap before your trip.
Prerequisites and Setup Before You Start
Before running this self-assessment, make sure you have the following in place:
A heart rate monitor (chest strap or wrist-based) to measure exertion objectively during test efforts
Access to hills or a stationary trainer with incline simulation for the climbing tests
A recent ride log covering the past 4 to 6 weeks of training (distance, elevation, duration)
A bathroom scale for tracking hydration loss during test rides
A notebook or spreadsheet to record results across all seven diagnostic steps
4 to 6 weeks before your trip to act on any weaknesses you identify
Time estimate: The full diagnostic takes about 10 days to complete, spread across separate test sessions with rest days in between. Block at least two weekends. The biggest potential blocker is rushing the process. Give each test an honest effort, not a half-hearted one squeezed between other rides.
Why This Approach Works for High-Altitude Trails
Most fitness assessments for cycling are built around flat road metrics: FTP, average speed, total weekly mileage. Those numbers tell you almost nothing about how you'll perform on a multi-day Atlas Mountain route where you're grinding up 1,200 meters of elevation gain per day on loose gravel at 2,500 meters altitude, in 35°C heat.
This diagnostic is calibrated to the specific conditions you'll face. Each step maps to a real demand of the route: sustained climbing power, heat tolerance, technical bike handling under fatigue, and day-over-day recovery. Among the most important long-distance riding tips any experienced rider will share is this: generic fitness is not route fitness. The mountains don't care about your lab numbers. They care whether you can keep pedaling when the trail tilts up, the air thins out, and the sun is relentless.
Step-by-Step Fitness Diagnostic for Atlas Mountain Riding
Step 1: Audit Your Weekly Volume and Progression
Action: Pull up your ride log from the past 6 weeks. Calculate your average weekly riding time, total distance, and total elevation gain per week. Write these numbers down.
Now compare them to the baseline demands of a multi-day Atlas route: roughly 4 to 6 hours of saddle time per day, 40 to 70 km per day, and 800 to 1,500 meters of climbing per day. Your weekly training volume should already be approaching at least 60 to 70% of a single day's demand on the route.
Checkpoint: If you're currently riding fewer than 8 hours per week with less than 1,500 meters of weekly elevation, you have a significant gap. Build up gradually , increasing distance or intensity by no more than 20% per week, and never both at the same time.
Common failure: Riders overestimate volume because they count commute rides or easy spins. Only count purposeful training rides with sustained effort.
Step 2: Test Your Sustained Climbing Power
Action: Find a climb that takes 20 to 40 minutes to complete (or use a trainer set to 6 to 10% gradient). Ride it at the hardest pace you can sustain for the full duration without stopping. Record your average heart rate and power (if available).
Atlas Mountain climbs are long, unrelenting, and often on loose surfaces that steal efficiency. You need to hold a steady, moderate output for 30 to 60 minutes at a time. This isn't about peak power. It's about durability.
Checkpoint: You should be able to complete 30 minutes of continuous climbing at 70 to 80% of your max heart rate without needing to stop. If you're redlining at 90%+ within 15 minutes, your aerobic base needs more work.
Common failure: Starting too hard. As cycling coach wisdom puts it, "Don't let your ego dictate the pace." Stay below your intensity cap early. The route's hardest sections come after hours of riding, not at the start.
Step 3: Simulate Altitude with Oxygen Debt
Action: Unless you live above 1,500 meters, you can't perfectly simulate altitude at home. But you can test your response to oxygen debt. Perform a high-intensity interval session: 5 rounds of 4 minutes hard effort followed by 2 minutes recovery. Monitor how quickly your heart rate drops during each rest interval.
At 2,500+ meters in the Atlas Mountains, the reduced oxygen means your heart rate will run 10 to 15 beats per minute higher than at sea level for the same effort. Your body's ability to recover between efforts is the best proxy for altitude tolerance.
Checkpoint: Your heart rate should drop by at least 20 to 30 beats within the 2-minute recovery window by round 3. If it stays elevated (within 10 beats of your working heart rate), your cardiovascular recovery is a concern.
Common failure: Ignoring this test because "I'll just acclimatize on the trip." Acclimatization takes days. On a multi-day route, you don't have that luxury on day one.
Step 4: Run a Heat and Hydration Stress Test
Action: On a warm day (or indoors with minimal ventilation), ride for 2 hours at moderate intensity. Weigh yourself before and after, wearing the same dry clothing. Track every milliliter of fluid you consume during the ride.
Proper hydration for long rides is not guesswork. In the Atlas Mountains, temperatures regularly exceed 35°C in exposed valleys. Dehydration degrades your power output, decision-making, and bike handling before you even feel thirsty. A commonly recommended target is about one bottle per hour, adjusted upward for heat and exertion. In arid mountain conditions, plan for 500 ml to 1 liter per hour .
Checkpoint: If you lost more than 2% of your body weight despite drinking, your hydration strategy needs recalibrating. For a 75 kg rider, that's 1.5 kg of loss. Also note: did you feel nauseous, dizzy, or crampy? Those are early warning signs you need to practice drinking more consistently on the bike.
Common failure: Relying on plain water alone. As endurance cyclist Vedangi advises, "Take more snacks than you think you'll need and carry loads of electrolytes." Sodium, potassium, and magnesium matter as much as fluid volume.
Step 5: Test Technical Handling Under Fatigue
Action: At the end of a long training ride (3+ hours), find a technical trail section with loose rocks, off-camber turns, or steep descents. Ride it deliberately and note how your handling compares to when you're fresh.
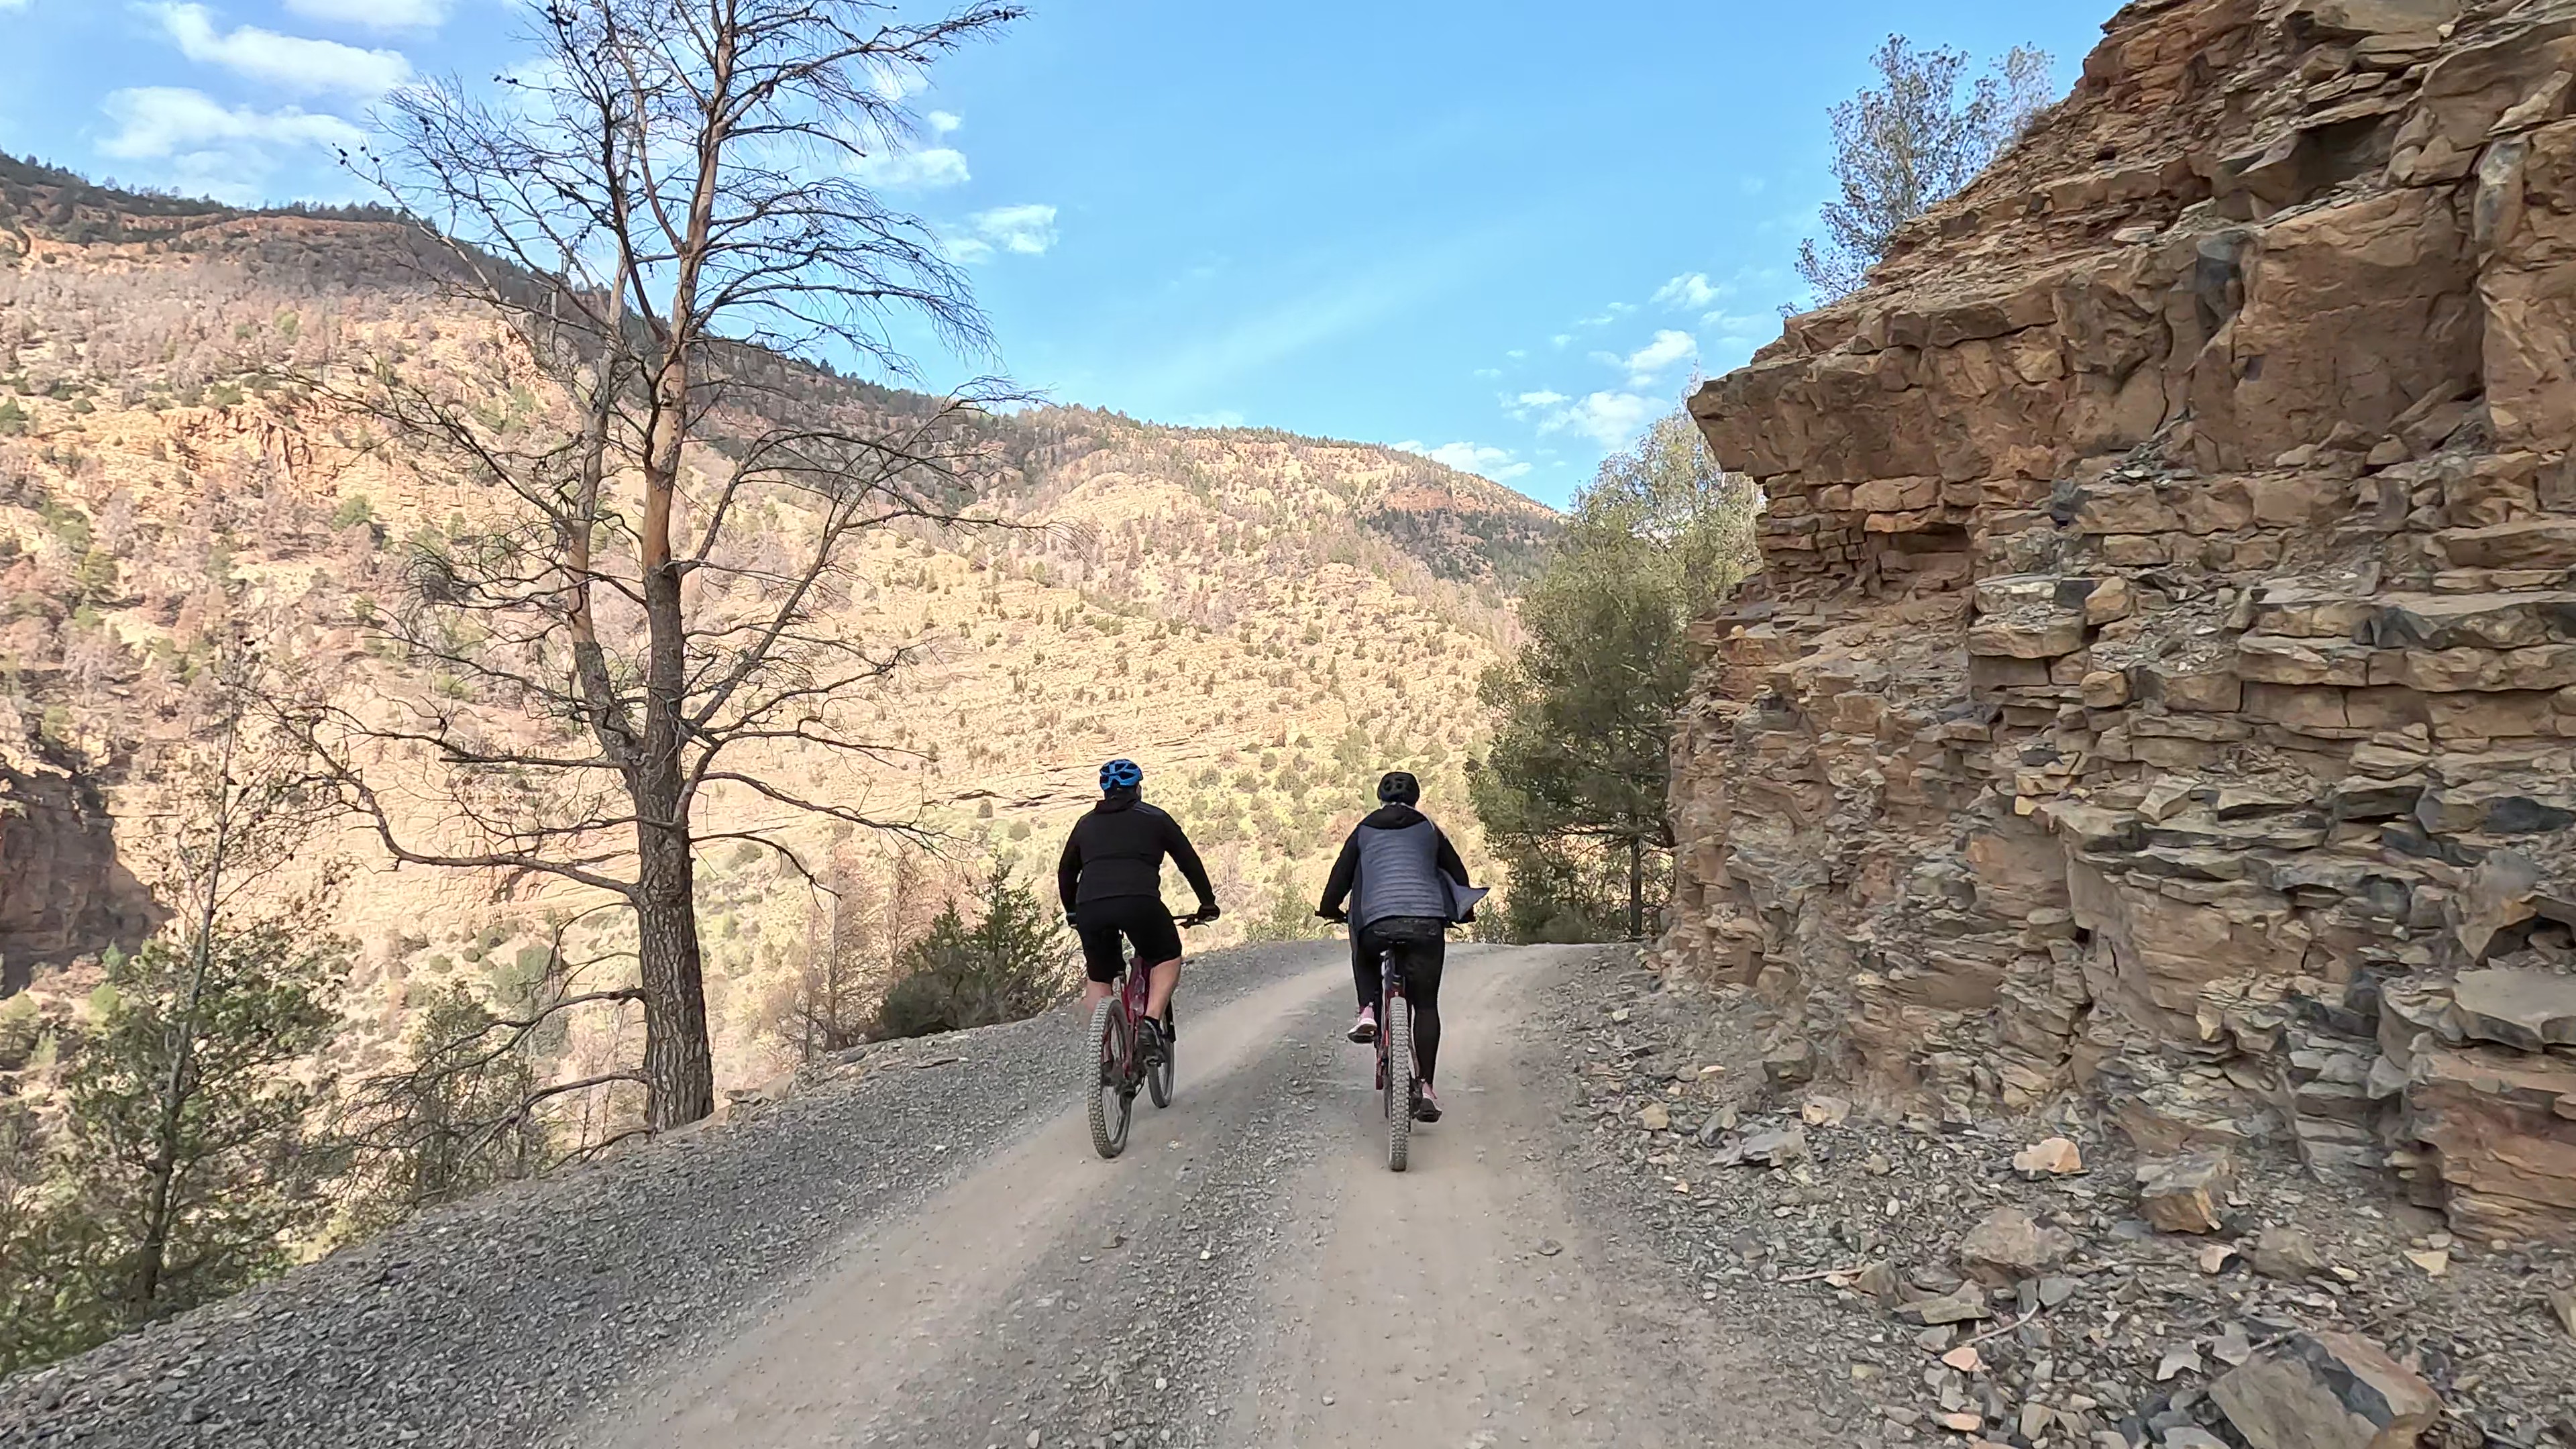
Atlas Mountain trails include rocky singletrack, dry riverbeds, and loose gravel switchbacks. The critical question isn't whether you can handle technical terrain. It's whether you can handle it at hour five, after 1,000 meters of climbing, when your forearms are pumped and your concentration is fading.
Checkpoint: You should be able to ride moderately technical terrain (roots, loose rocks, 10 to 15% gradient descents) without dabbing or dismounting more than once per kilometer. If you're walking multiple sections you'd normally ride, your grip endurance and fatigue-state handling need work.
Common failure: Only practicing technical skills when fresh. Dedicate at least one ride per week to skills work in the final 30 minutes of a long ride. For more on what to expect from Moroccan terrain at various skill levels , study the specific surfaces you'll encounter.
Step 6: Simulate Back-to-Back Days
Action: Over a weekend, ride two consecutive days of 4+ hours each, with at least 600 meters of climbing per day. On the second morning, honestly assess: How do your legs feel? How is your motivation? Can you eat breakfast normally?
Multi-day routes in the Atlas Mountains demand consistent output across 3 to 7 consecutive days. Day-two legs are the real test. Anyone can have one strong day. The question is whether you can do it again tomorrow, and the day after that.
Checkpoint: On day two, you should be able to ride at 80 to 85% of your day-one output without unusual pain, excessive soreness, or appetite loss. If day two feels like survival rather than riding, your recovery capacity needs development. Focus on sleep quality, post-ride nutrition (aim for 30 to 60 grams of carbohydrates per hour during rides and a protein-rich meal within 30 minutes of finishing), and gradual volume increases.
Common failure: Going too hard on day one. Treat the first day as a 70% effort to see what's left for day two. That's how you'll need to ride on a real multi-day trip.
Step 7: Assemble and Test Your Emergency Safety Kit
Action: Lay out every item you plan to carry for trail-side emergencies. Then take it on a ride and practice using each item under mild time pressure. Can you fix a flat in under 10 minutes? Do you know how to use your first aid supplies?
A reliable emergency safety kit is non-negotiable on remote Atlas Mountain trails where the nearest village may be hours away. At minimum, carry at least two flat repair kits, a multitool, a cell phone, ID, and cash . For remote mountain riding, add: a compact first aid kit, a whistle, an emergency blanket, sun protection, and a headlamp.
Checkpoint: You should be able to perform a tire repair and basic mechanical fix trailside without assistance. Every item in your kit should be something you've actually used at least once. Untested gear is dead weight at best and a false sense of security at worst.
Common failure: Packing a kit but never opening it until something goes wrong. Practice is preparation. If you're joining a guided trip with Atlas Mountain Bike , their local guides carry comprehensive safety equipment and know the terrain intimately, but your personal kit is still your first line of defense.
Configuration: Adjusting the Diagnostic to Your Route
The thresholds above are calibrated for a moderate-to-challenging multi-day Atlas Mountain route (3 to 5 days, 40 to 70 km/day, 800 to 1,500 m daily elevation gain, altitudes of 2,000 to 3,000 m). Adjust based on your specific trip:
Shorter trips (2 to 3 days): The back-to-back test (Step 6) is still critical, but you can reduce the climbing threshold by 20%
Higher altitude routes (3,000+ m): Weight the altitude simulation (Step 3) more heavily. Consider arriving 1 to 2 days early for partial acclimatization
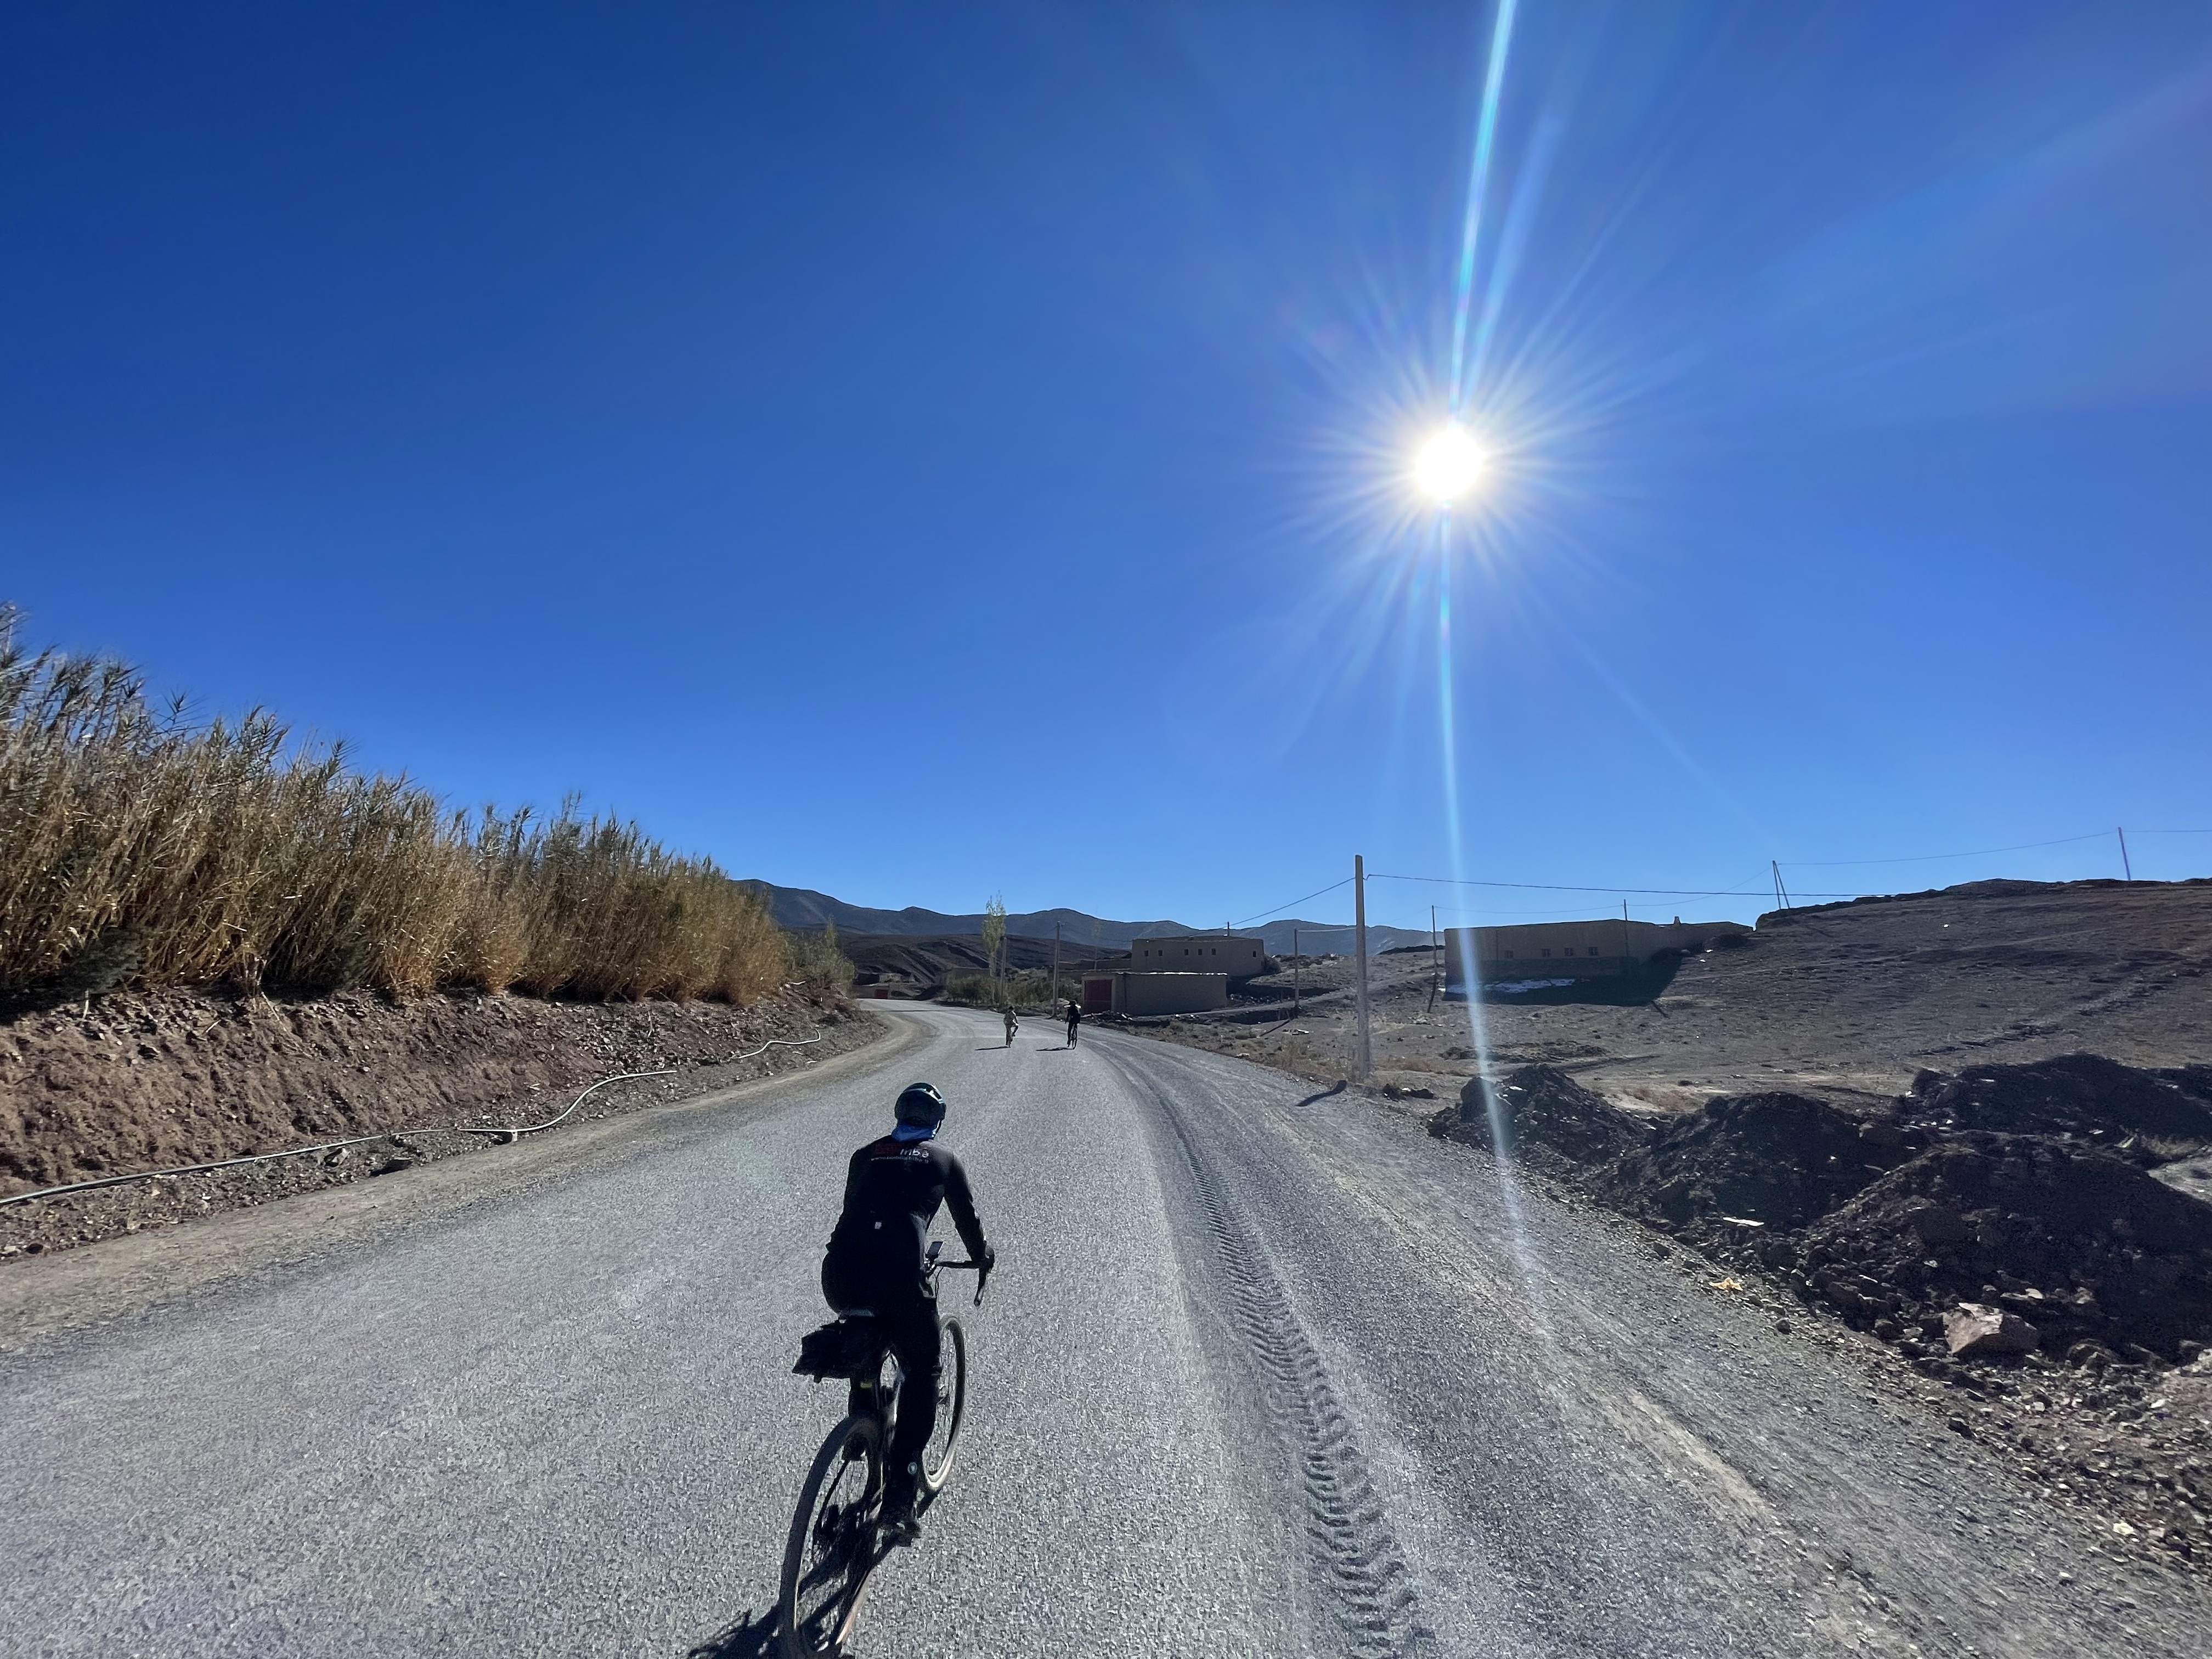
Summer trips (June to August): The heat stress test (Step 4) becomes your most important diagnostic. Increase your hydration target to 1 liter per hour minimum
Technical-heavy routes (enduro-style): Double the emphasis on Step 5. Practice drops, steep chutes, and loose-over-hard surfaces specifically
Easier touring routes: If you're exploring a scenic route like Marrakech to Fes , lower the climbing thresholds but maintain the heat and hydration standards
Safe defaults: When in doubt, train to the higher standard. It's always better to arrive over-prepared than to discover your limits on a remote trail with dust under your tires and no easy way out.
Verification: Confirming You're Ready
Two weeks before your trip, run a final combined test. Ride two consecutive days that simulate 70 to 80% of your expected daily route demands: similar distance, elevation, and duration. Do it in the warmest conditions available. Carry your full kit.
Success definition: You complete both days without any of the following red flags:
Inability to eat or drink normally during or after riding
Heart rate that won't drop below 80% of max during moderate efforts
Technical handling that deteriorates to the point of unsafe riding
Joint or muscle pain (not soreness) that worsens through the ride
Weight loss exceeding 2% despite consistent hydration
If you pass clean, you're ready. If one or two flags appear, you have two weeks to address them with targeted work. If three or more flags appear, seriously consider adjusting your trip difficulty or postponing.
Common Errors and How to Fix Them
"My legs feel fine but I can't breathe on climbs"
Cause: Your muscular fitness exceeds your cardiovascular fitness, common in riders who do lots of strength work but limited sustained aerobic riding. Fix: Add 2 to 3 sessions per week of Zone 2 riding (conversational pace) lasting 60 to 90 minutes. Build your aerobic engine.
"I cramp badly after 3 hours regardless of hydration"
Cause: Usually an electrolyte deficit, not a water deficit. Plain water dilutes sodium levels without replacing what you sweat out. Fix: Add electrolyte tablets or powder to every bottle. Target 500 to 700 mg of sodium per hour in hot conditions. Test this in training, not on the trip.
"I can do one big day but day two is a disaster"
Cause: Inadequate recovery nutrition and/or pacing too hard on day one. Fix: Eat a full meal with protein and carbohydrates within 30 minutes of finishing each ride. Cap day-one effort at 70% perceived exertion. Practice this pacing discipline in training.
"My hands go numb on long descents"
Cause: Death grip on the bars, often from anxiety on loose terrain. Compounded by vibration on rocky Atlas trails. Fix: Practice relaxing your grip consciously. Use padded gloves. Adjust brake lever angle so you can brake with one or two fingers without squeezing the full hand.
"I passed all the tests but I'm still nervous about altitude"
Cause: Altitude anxiety is normal and healthy. Fix: Know the symptoms of altitude sickness (headache, nausea, dizziness, insomnia) and have a clear plan: slow down, hydrate, descend if symptoms worsen. On guided trips, your guide will monitor the group and adjust the pace. Communicate honestly about how you feel.
Next Steps: Building on Your Assessment
Once you've completed this diagnostic, you have a clear picture of your readiness. Here's where to go next:
Close specific gaps: Use the 4 to 6 week window before your trip to target your weakest diagnostic area with focused training
Dial in nutrition: Practice your on-bike fueling strategy on every long training ride. By trip day, eating and drinking on the bike should be automatic
Study your route: Learn the specific terrain, daily profiles, and water resupply points. For first-time riders heading to Morocco , understanding road conditions and cultural context is as important as physical fitness
Plan rest strategically: Take breaks every 1.5 to 2 hours during long days to reduce accumulated fatigue and maintain concentration on technical terrain
The Atlas Mountains reward riders who show up prepared, honest about their abilities, and willing to ride within their limits. Do the work now, and the trails will give back everything you put in.
Frequently Asked Questions
How fit do I need to be for multi-day mountain biking in the Atlas Mountains?
You should be able to ride 4 to 6 hours per day with 800 to 1,500 meters of climbing, across consecutive days, in warm conditions. This isn't elite-level fitness, but it requires consistent training for at least 8 to 12 weeks before your trip. Use the step-by-step diagnostic above to identify exactly where you stand and what to work on.
Can I prepare for high altitude if I live at sea level?
You can't fully simulate altitude at home, but you can train your body's response to oxygen debt through high-intensity interval sessions. Focus on cardiovascular recovery (how quickly your heart rate drops after hard efforts). Arriving 1 to 2 days early for partial acclimatization also helps, especially for routes above 2,500 meters.
How much water should I carry for long rides in the Atlas Mountains?
Plan for 500 ml to 1 liter per hour, adjusted upward in peak summer heat. Carry electrolyte supplements in addition to water, as plain water alone won't replace the sodium and minerals you lose through sweat. On remote sections, carry extra capacity since water resupply points can be hours apart.
What should I include in my emergency safety kit for remote mountain biking?
At minimum: two flat repair kits, a multitool, a cell phone, ID, and cash. For remote Atlas Mountain trails, add a compact first aid kit, whistle, emergency blanket, sun protection, and a headlamp. Practice using every item before your trip so nothing is unfamiliar when you need it.
How do I know if a multi-day Atlas Mountain route is too difficult for me?
Run the back-to-back day simulation (Step 6 in the diagnostic). If you can't complete two consecutive 4-hour days at 70 to 80% of the route's demands without red flags (inability to eat, persistent elevated heart rate, unsafe bike handling, or joint pain), the route is currently beyond your fitness level. Either train longer or choose an easier itinerary.
What's the best time of year to ride in the Atlas Mountains for heat management?
Spring (March to May) and autumn (September to November) offer the most manageable temperatures for riding. Summer months bring extreme heat in lower valleys, while winter can bring snow and cold at higher elevations. If you're riding in warmer months, the heat stress test in this diagnostic becomes your most important preparation step.