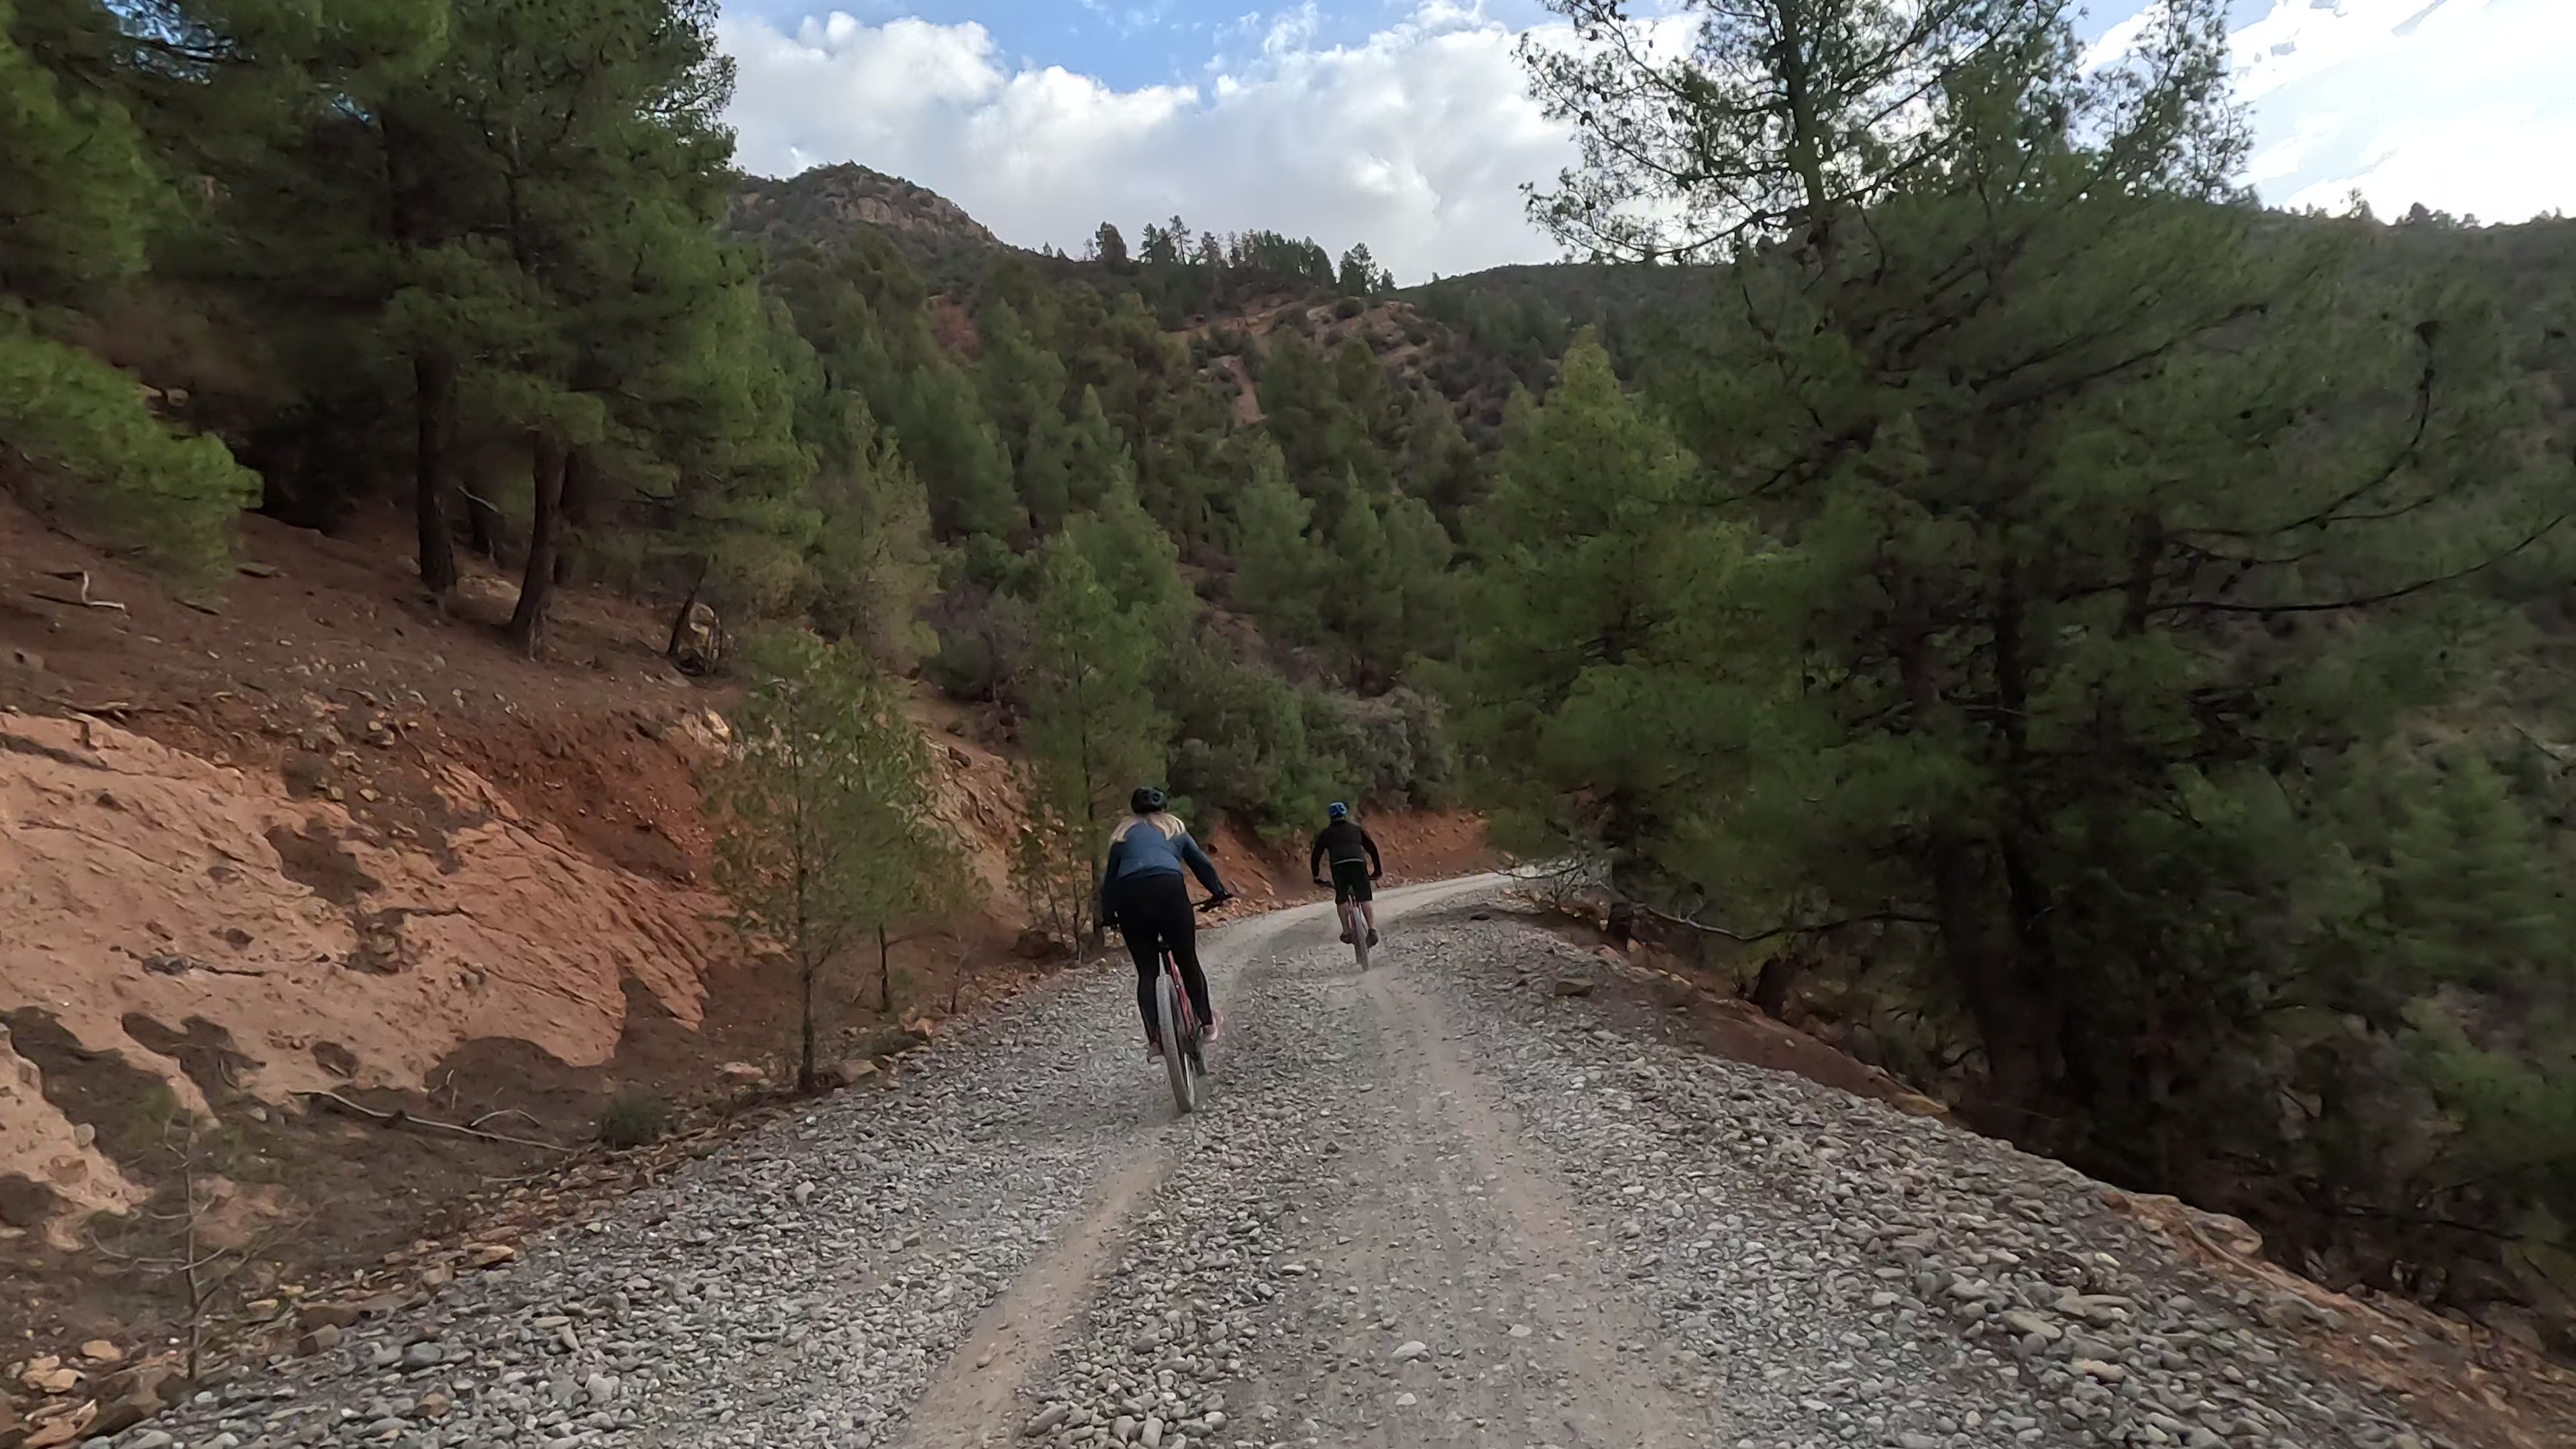
Wilderness Adventure Safety Beyond the Trail Map
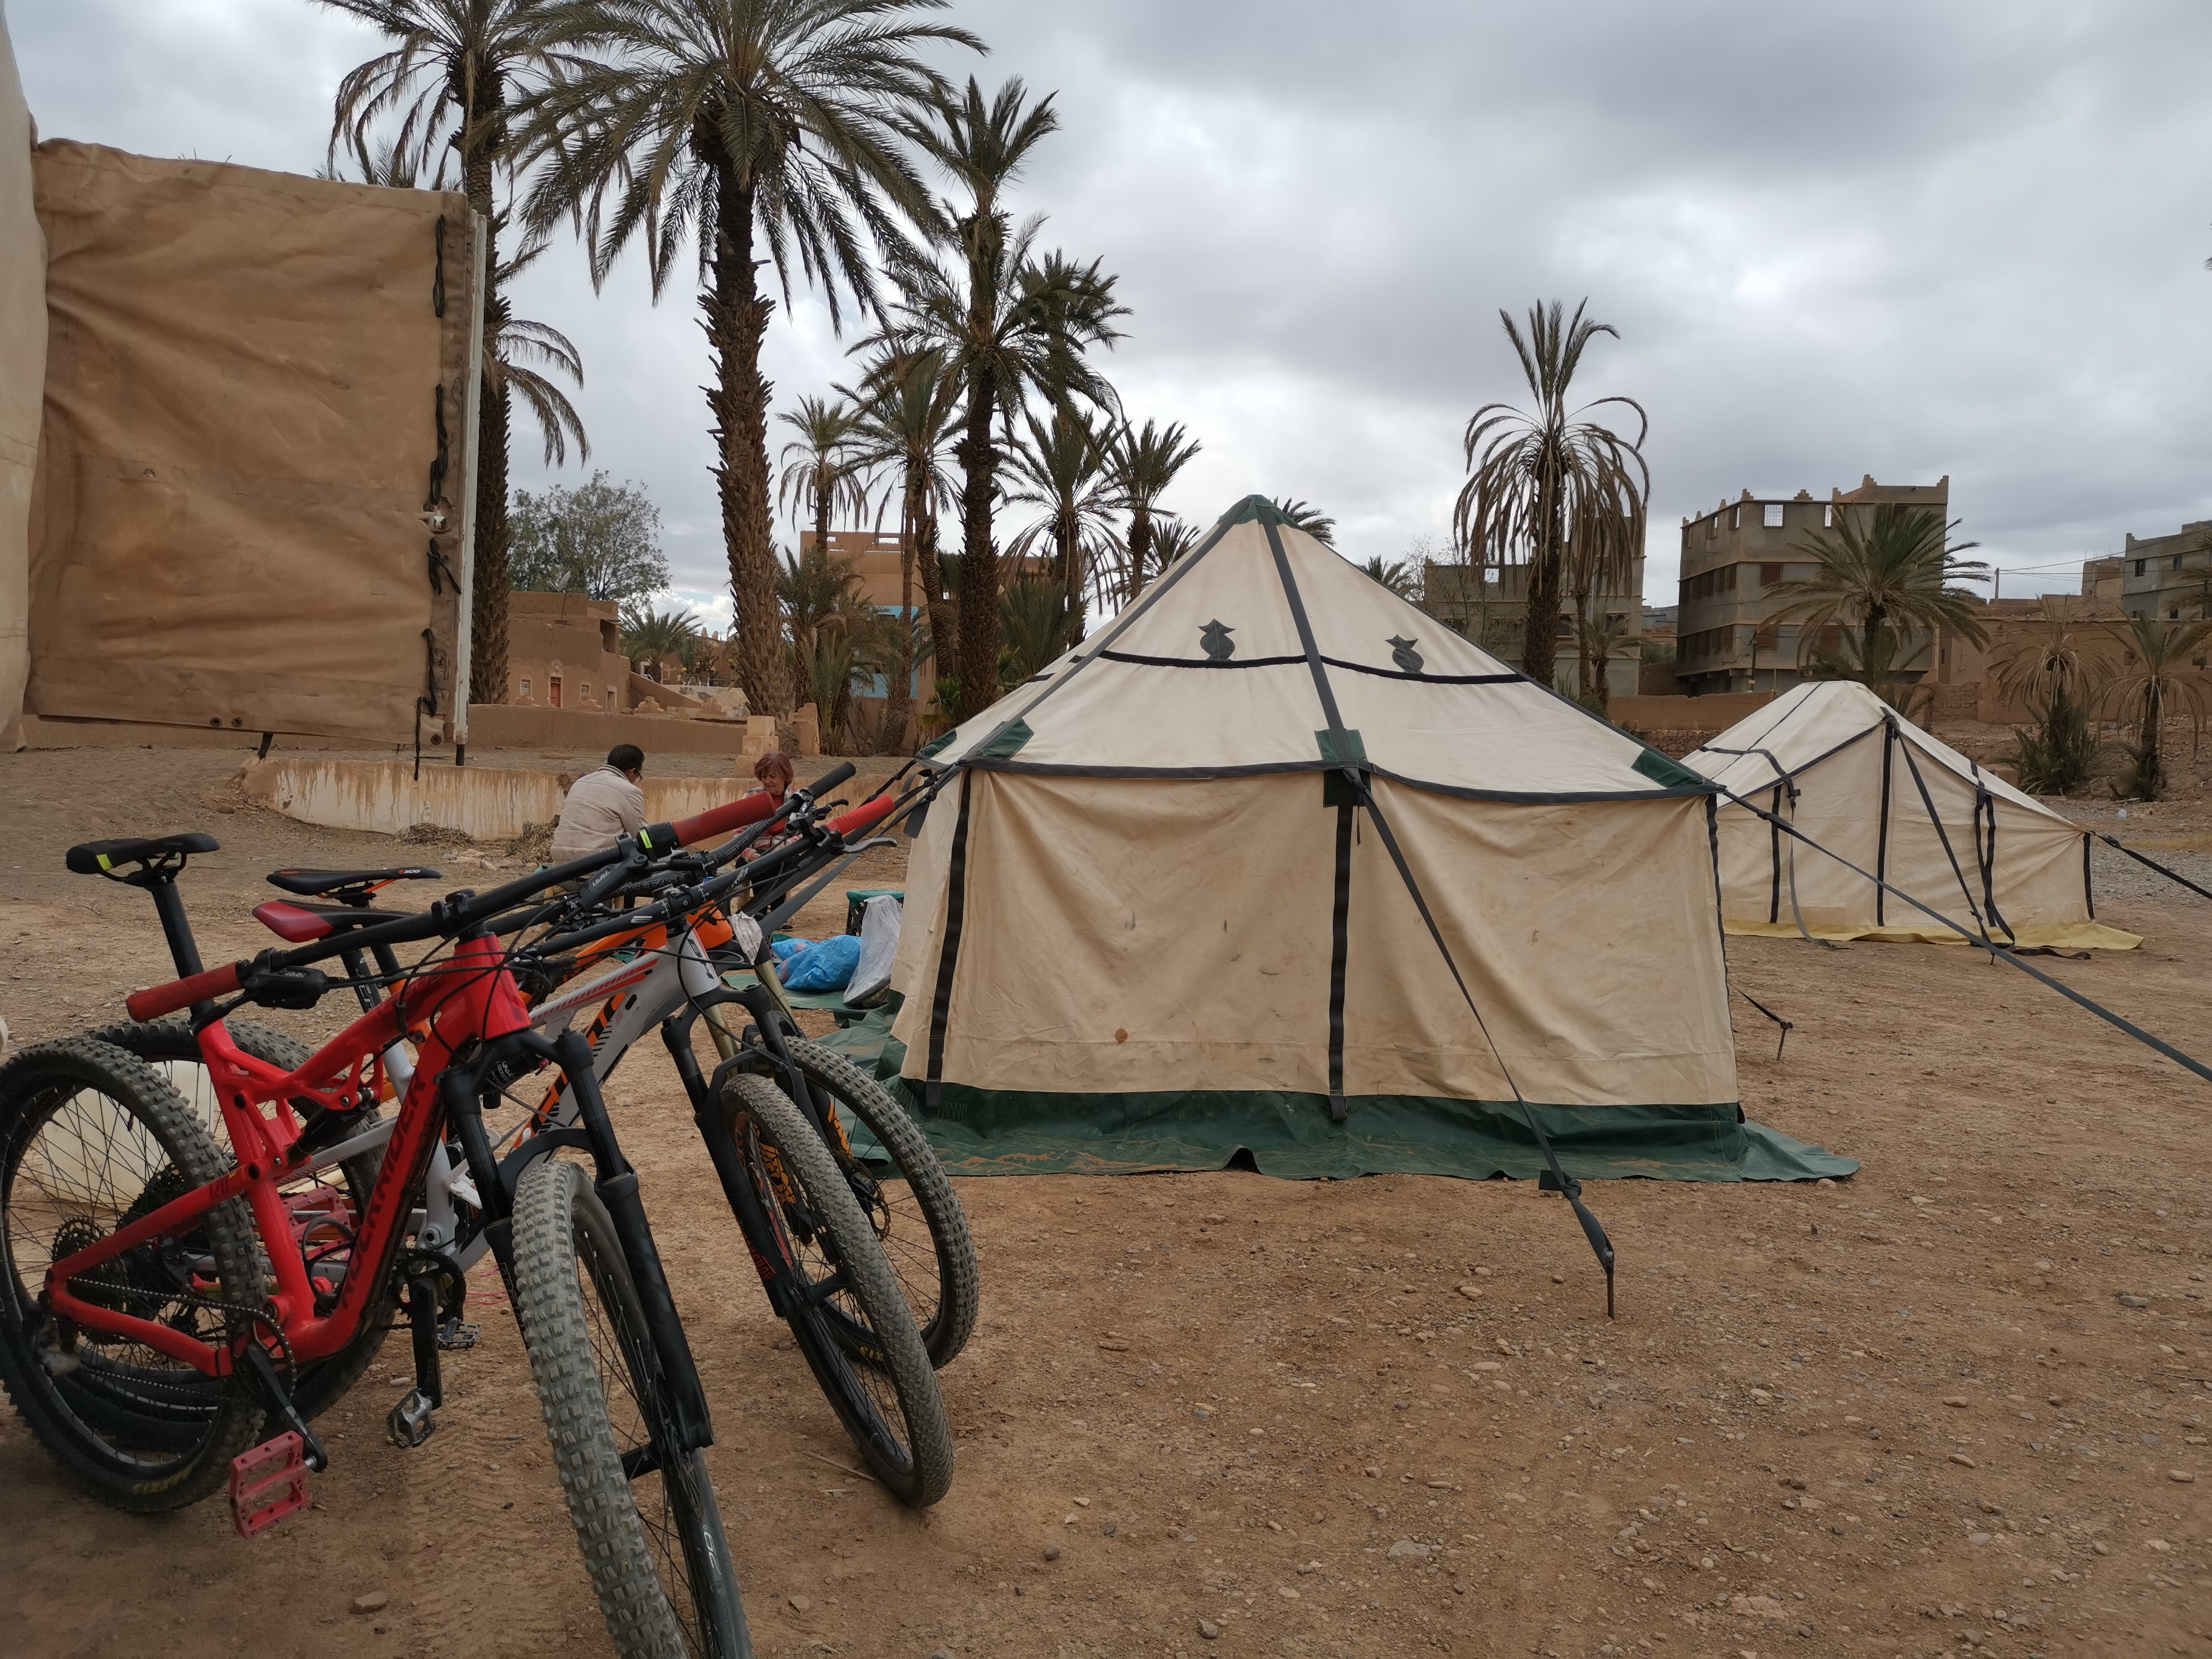
How experiential terrain knowledge protects mountain bikers when ratings, maps, and booking pages fall short
Learn how to evaluate wilderness adventure trails through an experiential lens rather than relying on standard ratings. This guide covers the physiological demands, terrain surprises, and guide-led insights that keep mountain bikers safer on unfamiliar routes.
TL;DR
Trail ratings describe the trail, not your ride — Static difficulty grades ignore cumulative fatigue, altitude, heat, and how your body responds over hours of effort. The same "moderate" trail can become dangerous depending on when and how you ride it.
Four layers of trail intelligence — Go beyond the static profile (elevation, distance) by assessing environmental context (weather, sun, altitude), physiological sequencing (where fatigue meets difficulty), and local intelligence (guide-level, route-specific knowledge).
The descent is where preparation pays off or fails — Most trail descriptions front-load the appeal and understate the demands of the final kilometers. Anticipate where your fatigue and the trail's hardest features will overlap, and plan energy reserves accordingly.
Local knowledge is a safety layer, not a luxury — Guides and riders who know a trail intimately carry information no app or rating system can provide: micro-conditions, seasonal changes, optimal pacing, and hazards that don't appear on any map.
Start with one framework shift — Before your next ride, spend ten minutes mapping your expected energy curve against the trail's demand sequence. This single habit closes the biggest gap between what trail descriptions tell you and what you'll actually experience.
Guide Orientation: What This Guide Covers and Who It's For
Every trail has a story the description leaves out. This guide is about that story: the gap between what you read on a trail map or booking page and what your body actually encounters on a wilderness adventure. It's written for experienced mountain bikers (ages 25-45) who seek challenging, scenic routes and want to ride smarter, not just harder.
By the end, you'll understand how to read terrain through an experiential lens, anticipate the physiological demands that trail ratings ignore, and make better decisions about when, where, and how to ride unfamiliar trails. This guide does not cover bike mechanics, gear reviews, or trail building. It focuses entirely on the intelligence layer between you and the ground beneath your tires.
Why Trail User Safety Depends on What You Can't Read on a Map
The global adventure tourism market is projected to reach $1.76 trillion by 2033 . More riders are heading into remote terrain than ever before. And yet, the tools we use to evaluate trails have barely evolved. A difficulty rating tells you a trail is "intermediate" or "advanced." It does not tell you that the exposed ridgeline at kilometer 14 catches crosswinds strong enough to push your front wheel off line, or that the final descent drops 600 meters over loose scree after three hours of climbing in direct sun.
In 2023, 7.7 million Americans tried outdoor recreation activities for the first time , and U.S. wilderness visitation days have increased 12% since 2000 . More people in wilder places means more exposure to the risks that trail descriptions systematically omit: cumulative fatigue, heat amplification in narrow valleys, altitude-related cognitive decline, and the simple reality that a trail's character changes hour by hour as your energy reserves drop.
The cost of this information gap is not abstract. It shows up as blown descents, heat exhaustion, mechanical failures in places with no cell service, and riders who push past their limits because nothing in the trail profile warned them what was coming. Trail user safety is not a function of signage or classification. It's a function of knowing what the terrain does to you over time.
Core Concepts: The Language of Experiential Terrain
Trail Ratings vs. Trail Reality
Most trail classification systems (IMBA, ITRS, or regional equivalents) assess surface type, gradient, and technical features in isolation. They answer the question: "What is this trail?" They do not answer the question that matters more: "What will this trail feel like when I'm three hours in, dehydrated, and facing a technical descent?"
This distinction is critical. A trail rated "moderate" at sea level becomes a different animal at 2,500 meters of elevation. A smooth singletrack that's pleasant at 9 AM becomes a heat trap by 1 PM when the canyon walls reflect sun from both sides. Ratings describe the trail. They do not describe your ride.
Cumulative Load
Cumulative load is the total physiological stress your body accumulates over the duration of a ride: elevation gain, heat exposure, technical concentration, vibration fatigue, and caloric expenditure. A trail description might list "1,200m elevation gain" as a single data point. What it doesn't say is whether that gain comes in the first hour (leaving you depleted for the technical sections) or is distributed evenly. Cumulative load is what separates a hard ride from a dangerous one.
Terrain Tempo
Every trail has a rhythm. Some trails alternate between climbs and recovery flats. Others stack difficulty relentlessly. Terrain tempo describes the pacing and sequencing of effort a trail demands. Understanding it lets you manage energy, plan nutrition stops, and anticipate where your concentration needs to be sharpest. No elevation profile captures this. Only someone who has ridden the trail repeatedly can communicate it.
The Preparation Gap
Research by John Lambert at Boston University School of Public Health found that most hikers and trail runners were not carrying necessary emergency gear and were not adequately prepared for higher altitudes. This preparation gap is not about negligence. It's about information: riders prepare for the trail they read about, not the trail that actually exists. Closing that gap requires a different kind of intelligence, one rooted in lived experience on the terrain.
The Framework: Four Layers of Trail Intelligence
Think of trail knowledge as four stacked layers. Each one adds resolution to your understanding of what you're about to ride. Most trail descriptions only cover Layer 1. The deeper you go, the safer and more rewarding your ride becomes.
Layer 1: Static Profile — Elevation, distance, surface type, technical grade. This is what you find on any trail app or booking page.
Layer 2: Environmental Context — Time of day, season, weather patterns, sun exposure, water availability. These variables transform the static profile.
Layer 3: Physiological Sequencing — How the trail's demands interact with your body over time. Where fatigue compounds, where concentration is critical, where recovery is possible.
Layer 4: Local Intelligence — Route-specific knowledge held by people who ride the trail regularly. Micro-conditions, recent changes, hidden hazards, optimal pacing strategies.
The steps that follow walk through each layer, showing you how to assess what trail descriptions leave out and where to find the information that fills the gap.
Step-by-Step: How to Read a Trail Beyond Its Description
Step 1: Deconstruct the Static Profile
Objective: Extract maximum useful information from the data you already have, and identify what's missing.
Start with the elevation profile, but don't just note total gain and loss. Break it into segments. Where does the climbing happen relative to the technical sections? Is the descent at the end (when you're most fatigued) or distributed throughout? A 1,500-meter descent after a 4-hour climb demands fundamentally different preparation than the same descent after a 90-minute shuttle to the top.
Look at the gradient distribution, not just the average. A trail with 800 meters of gain over 20 kilometers might average a gentle 4%. But if 600 of those meters come in a single 5-kilometer pitch, you're looking at a 12% sustained climb that the average obscures entirely. Map apps and trail platforms rarely surface this distinction.
Anti-patterns: Trusting a single difficulty rating as a complete assessment. Comparing trails by total elevation gain without considering distribution. Ignoring the relationship between climb placement and descent quality.
Success indicators: You can describe the trail's effort sequence in segments ("climb for 8km, flat traverse for 3km, technical descent for 6km") rather than as a single summary statistic. You've identified at least two questions the static profile doesn't answer.
Step 2: Map the Environmental Variables
Objective: Understand how time, weather, and geography transform the trail's character.
The same trail ridden at 7 AM and at 1 PM can feel like two different routes. In arid, mountainous terrain (the Atlas Mountains, the American Southwest, parts of southern Europe), canyon walls and exposed ridgelines create microclimates that shift dramatically with the sun's angle. A north-facing descent that's cool and grippy in the morning becomes a sun-baked, loose-surface challenge by afternoon.
Altitude compounds everything. At 2,000+ meters, your cardiovascular system works harder, your reaction time slows subtly, and dehydration accelerates. With 63.4 million Americans hiking in 2024 alone , many riders are venturing into elevation ranges they haven't trained for, and trail descriptions rarely quantify the physiological cost of altitude beyond listing the peak elevation.
Wind patterns matter enormously on exposed traverses. Seasonal rainfall changes surface grip on clay-based trails from tacky and fast to slick and unpredictable. None of this appears in a trail rating.
Anti-patterns: Planning ride timing based solely on convenience rather than environmental conditions. Assuming trail surface consistency across seasons. Treating altitude as a footnote rather than a primary variable.
Success indicators: You've checked weather, wind, and temperature forecasts for the specific time window of your ride. You know the trail's aspect (which direction slopes face) and how sun exposure changes through the day. You've adjusted your start time, hydration plan, or route based on environmental factors.
Step 3: Anticipate the Physiological Sequence
Objective: Predict how your body will respond to the trail's demands over time, not just at any single point.
This is the layer most trail descriptions ignore completely. A technical rock garden rated "difficult" is one thing when you're fresh. It's a categorically different challenge when it appears after 90 minutes of sustained climbing at altitude. Your grip strength is reduced. Your reaction time is slower. Your decision-making is compromised by fatigue. The trail hasn't changed, but your capacity to ride it safely has.
Build a mental (or written) model of your energy curve against the trail's demand curve. Where will your glycogen stores be depleted? Where does the trail demand peak concentration, and does that coincide with peak fatigue? Where are the natural recovery points (flats, shade, water sources) and do they align with where you'll need them?
When riding in places like Morocco's Atlas Mountains , this sequencing becomes even more critical. The combination of altitude, heat, and remote terrain means that misjudging your energy timeline doesn't just result in a bad ride. It can put you in a genuinely dangerous position with limited evacuation options.
Anti-patterns: Assessing trail difficulty based on its hardest single feature rather than the cumulative sequence. Skipping nutrition because "it's only a 3-hour ride" (at altitude, in heat, 3 hours can drain you faster than 5 at sea level). Assuming your fitness at home translates directly to performance at elevation.
Success indicators: You've identified the 2-3 points on the trail where fatigue and difficulty are most likely to overlap. You've planned nutrition and hydration around the trail's demand curve, not just on a fixed schedule. You have a clear bail-out plan if your energy drops faster than expected.
Step 4: Seek Local Intelligence
Objective: Access the route-specific, experiential knowledge that no app, map, or rating system can provide.
Local intelligence is the most valuable and least accessible layer of trail knowledge. It lives in the heads of people who ride specific trails week after week, season after season. It includes information like: "The switchbacks at kilometer 9 get washed out after October rains and the line shifts 30 centimeters to the right." Or: "There's a false flat after the second climb that feels like recovery but actually gains 80 meters, so don't push hard there."
This kind of knowledge transforms a ride. It's the difference between reacting to surprises and anticipating them. For riders exploring unfamiliar terrain, especially in remote mountain environments, local intelligence is not a luxury. It's a safety layer.
Where do you find it? Local riding communities, regional forums, and guide services with deep roots in the area. Generic tour operators who rotate guides across regions won't have it. You need people whose knowledge of a trail is measured in years, not visits. Atlas Mountain Bike , for example, runs guide-led rides in Morocco's Atlas Mountains with locals who have grown up on these trails, offering the kind of micro-terrain knowledge that turns a trail description into a complete picture.
Anti-patterns: Relying exclusively on crowd-sourced app reviews (which reflect individual experiences, not systematic knowledge). Treating all guide services as equivalent regardless of local depth. Dismissing local advice because it contradicts the published trail rating.
Success indicators: You've connected with at least one source of local, current trail intelligence before riding an unfamiliar route. You can name specific trail features or conditions that aren't visible in the published description. You've adjusted your plan based on local input.
Step 5: Build Your Pre-Ride Decision Framework
Objective: Synthesize all four layers into a clear go/no-go and pacing decision before you start riding.
With Layers 1 through 4 assessed, you now have enough information to make a real decision, not just about whether to ride, but about how to ride. This is where trail intelligence becomes operational.
Ask yourself five questions before every unfamiliar ride:
Where on this trail will my fatigue and the trail's difficulty peak simultaneously?
What environmental conditions will change during my ride window, and how will they affect the trail?
Do I have a bail-out option if I'm more depleted than expected at the midpoint?
What specific hazards has local intelligence identified that the trail description doesn't mention?
Am I prepared (gear, nutrition, hydration, emergency kit) for the trail I'll actually ride, not just the trail on paper?
This framework applies whether you're riding a high-altitude Atlas traverse or a backcountry trail in your home region. The variables change. The decision structure doesn't.
Anti-patterns: Treating the start of a ride as the decision point (by then, you've committed). Making go/no-go decisions based on ego or group pressure rather than assessed conditions. Skipping the framework because "I've ridden harder trails."
Success indicators: You can articulate your plan for the ride in terms of pacing, nutrition timing, and key decision points. You've identified your personal red lines (conditions under which you'll turn back or adjust). Your preparation reflects the trail you'll actually encounter, not the one described on the booking page.
Step 6: Ride with Adaptive Awareness
Objective: Continuously update your assessment during the ride based on real-time feedback from your body and the terrain.
No amount of pre-ride preparation eliminates uncertainty. Conditions change. Your body responds differently than expected. A trail feature that looked manageable on the map feels different under your wheels. The final layer of trail intelligence is your own real-time perception, trained by the framework above to notice what matters.
Check in with yourself at predetermined points: How's my grip strength? Am I making clean line choices or reacting late? Is my breathing rate higher than expected for this gradient? These are early warning signals. Fatigue doesn't announce itself with a single dramatic moment. It accumulates in small decrements of reaction time, balance, and judgment.
On long rides in remote terrain, the descent is where preparation pays off or fails. You've been climbing for hours. Your forearms are fatigued. Your concentration has been sustained for longer than you typically maintain it. The trail drops into a technical section with exposure. This is the moment that trail descriptions don't prepare you for, and it's the moment where the riders who assessed all four layers have a decisive advantage over those who only read Layer 1.
Anti-patterns: Ignoring early fatigue signals because "I'm almost at the top." Riding technical descents at the same speed and aggression you'd use when fresh. Failing to adjust pacing when conditions diverge from your pre-ride assessment.
Success indicators: You've made at least one mid-ride adjustment based on how you feel, not just what the trail looks like. You arrived at the most demanding section with enough reserve to ride it cleanly. You finished the ride knowing you could have handled more, rather than barely surviving the last kilometers.
Practical Examples: What This Looks Like on Real Terrain
Scenario 1: The Misleading "Moderate" Rating
A rider books a trail marketed as "moderate difficulty, 35km, 900m elevation gain" in a North African mountain range. The description mentions "stunning views" and "varied terrain." What it doesn't mention: the first 18 kilometers are a sustained climb on a jeep track with no shade, gaining 750 of the 900 meters. The remaining 17 kilometers descend through increasingly technical singletrack with loose rock. By the time the rider reaches the descent, they've been climbing for over two hours in 35°C heat. Their forearms are pre-fatigued from gripping on rough jeep track. The "moderate" descent becomes genuinely hazardous.
A rider using the four-layer framework would have identified the climb/descent imbalance in Layer 1, flagged the heat exposure in Layer 2, anticipated the fatigue-difficulty overlap in Layer 3, and sought local intelligence about the descent conditions in Layer 4. The ride is still challenging, but the surprises are eliminated.
Scenario 2: Altitude Ambush
Two riders of similar fitness tackle a high-altitude route in Morocco's Atlas Mountains . One lives and trains at sea level. The other lives at 800 meters. The trail tops out at 2,800 meters. The sea-level rider notices nothing unusual for the first hour, then finds their heart rate 15-20 BPM higher than expected on moderate gradients. Their decision-making slows. They start missing line choices on technical sections they'd normally clean easily. The trail hasn't changed. Their capacity has.
The altitude effect is well-documented but almost never quantified in trail descriptions beyond a peak elevation number. A guide with local knowledge would pace the sea-level rider differently, schedule longer recovery stops at altitude, and choose a line through the technical sections that compensates for reduced reaction time. This is the kind of adaptive, person-specific trail intelligence that only comes from Layer 4.
Common Mistakes and Pitfalls
Confusing fitness with preparedness. Being fit enough to ride a trail is not the same as being prepared for it. Preparation includes understanding the specific demands of the specific terrain on the specific day you're riding it. Many strong riders get into trouble because they equate their general fitness with readiness for any trail within their ability range.
Over-relying on technology. GPS tracks, trail apps, and heart rate monitors are useful tools, but they describe what is happening, not what is about to happen. They don't warn you that the next 3 kilometers of descent will demand more grip strength than you have left. Technology supplements judgment. It doesn't replace it.
Ignoring the return trip. On point-to-point rides, this is less relevant. But on out-and-back or loop routes, riders consistently underestimate the difficulty of the return leg. The trail you climbed easily when fresh feels different when you're riding it fatigued, in changed light, with depleted energy.
Treating group pace as your pace. In group rides, social dynamics push riders beyond their individual comfort zones. A pace that's sustainable for the strongest rider in the group may be redlining the weakest. This is where guide-led rides with experienced local leaders add a critical safety margin: a good guide reads the group, not just the trail.
What to Do Next
Start with your next ride. Before you clip in, spend ten minutes applying the four-layer framework. Deconstruct the static profile into segments. Check the environmental conditions for your specific ride window. Map your expected energy curve against the trail's demand sequence. And if you're riding somewhere unfamiliar, find someone who knows the trail personally and ask them the questions the description doesn't answer.
You don't need to master all four layers at once. Begin with Layer 3 (physiological sequencing), because it's the layer most riders skip entirely and the one that makes the biggest immediate difference to your safety and enjoyment. Over time, the framework becomes instinctive. You'll start reading trails the way locals do: not as a set of statistics, but as a living, shifting experience that demands respect and rewards preparation.
If you're planning a wilderness adventure in Morocco's Atlas Mountains , consider riding with guides who carry decades of local trail intelligence. The terrain is extraordinary, but it demands more than fitness. It demands knowledge that only comes from the ground up.
Frequently Asked Questions
What is the ITRS and how does it assess trails?
The International Trail Rating System (ITRS) evaluates trails based on observable physical characteristics: surface type, gradient, obstacles, and technical features. It provides a standardized difficulty grade similar to ski run ratings. While useful as a baseline, the ITRS assesses the trail in isolation. It does not account for environmental variables (heat, wind, altitude), cumulative fatigue over the ride's duration, or how the sequencing of features affects a rider's capacity. Think of it as Layer 1 of trail intelligence: necessary but insufficient.
Why do trail ratings feel inaccurate when I actually ride?
Because trail ratings describe the trail's fixed characteristics, not your dynamic interaction with it. A "moderate" rock garden is moderate when you're fresh, hydrated, and at sea level. That same feature becomes significantly harder after two hours of climbing at 2,500 meters in direct sun. Your perception of difficulty is shaped by cumulative load (fatigue, dehydration, altitude, heat), which no static rating system captures. This is why experiential terrain knowledge from local guides or repeat riders is so valuable.
How important is altitude acclimatization for mountain biking?
Extremely important, and consistently underestimated. Above 2,000 meters, most riders experience measurably higher heart rates, reduced power output, and slower cognitive processing. These effects are subtle enough to miss consciously but significant enough to degrade your line choices, braking timing, and overall judgment on technical terrain. If you train below 1,000 meters and plan to ride above 2,500, expect a 10-20% reduction in your effective performance and plan your pacing accordingly.
Can trail apps and GPS devices replace local guide knowledge?
They complement it but cannot replace it. Trail apps provide excellent Layer 1 data (elevation, distance, GPS tracks) and some Layer 2 data (weather integration). They cannot tell you that a specific section washes out after seasonal rains, that wind patterns on a ridgeline shift predictably at midday, or that the optimal line through a rock garden has moved since the last survey. Local intelligence is granular, current, and context-sensitive in ways that technology cannot replicate.
What emergency gear should I carry on remote wilderness trails?
At minimum: a basic first aid kit, emergency shelter (space blanket), sufficient water and purification method, nutrition beyond your planned needs, a charged phone with offline maps, a whistle, and a multi-tool. Research from Boston University found that most trail users in wilderness settings were not carrying necessary emergency gear. On remote mountain bike routes, add tire plugs, a spare derailleur hanger, and a chain breaker. The gear list should reflect the specific trail's remoteness and your distance from evacuation points, not a generic checklist.
How can I find reliable local trail intelligence for unfamiliar destinations?
Look for guide services staffed by locals who ride the specific trails regularly, not operators who rotate guides across regions. Regional mountain biking forums and clubs are another strong source. When evaluating information, prioritize recency (trail conditions change seasonally) and specificity ("the switchbacks after the second col" is more useful than "the trail is rocky"). Avoid relying solely on crowd-sourced app reviews, which reflect individual experiences on individual days and often lack the systematic, route-wide perspective that makes local knowledge so valuable.