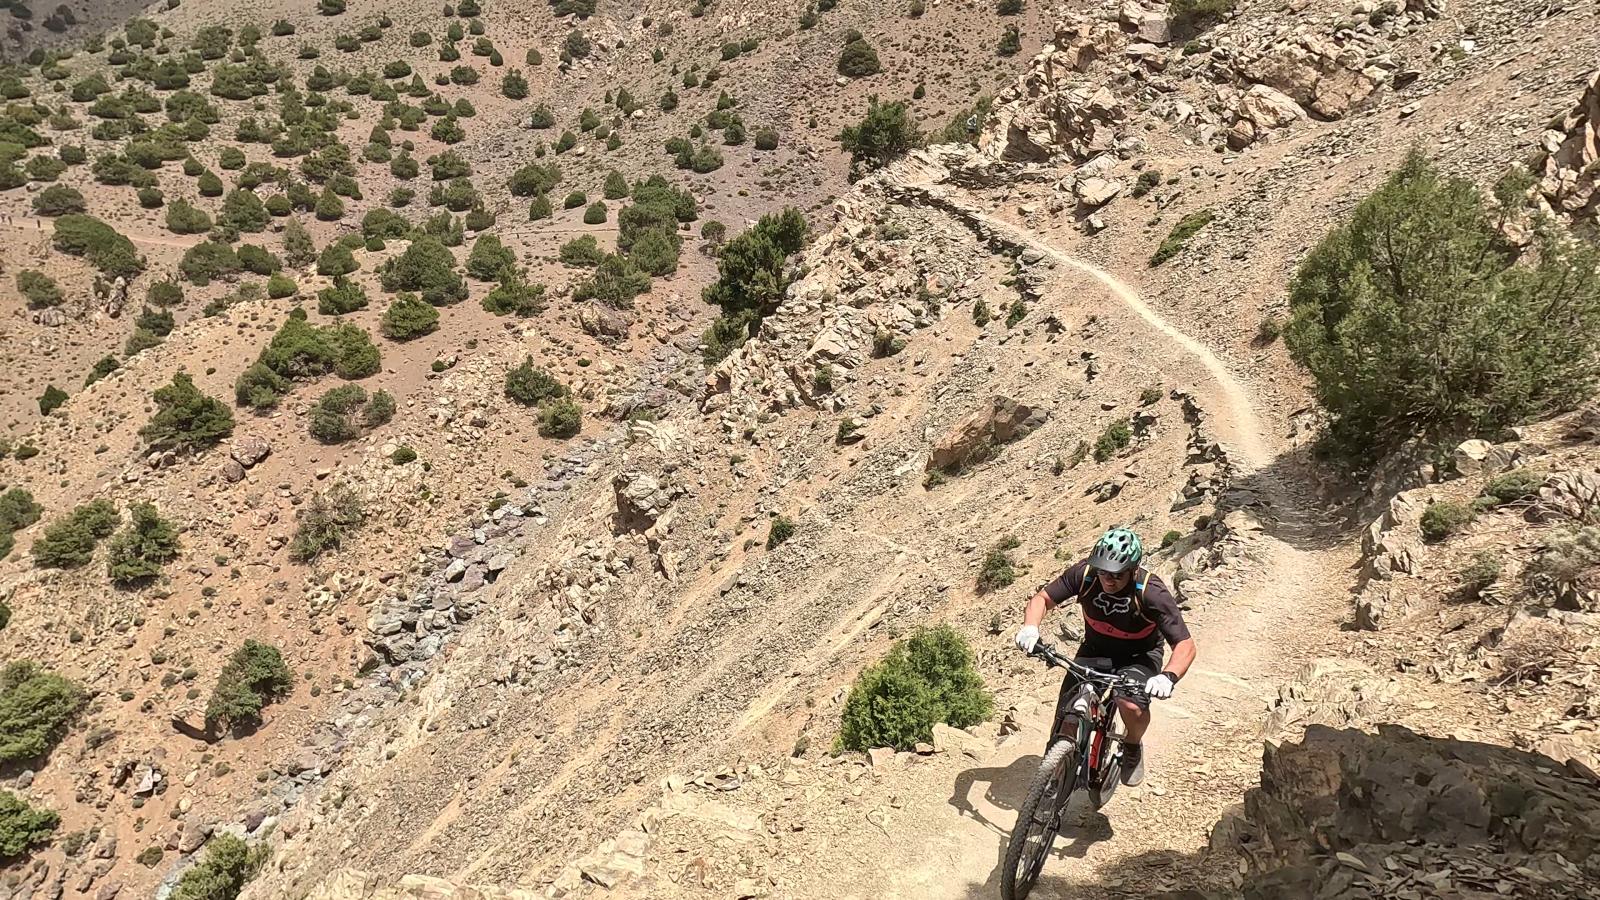
Ask riders what they remember most about a week in the High Atlas, and the answer is usually a descent. Long, rocky, flowing trails that drop hundreds of metres through villages and walnut groves. They are the reward for every climb. They can also be intimidating if you are used to smoother trails at home.
Our guides ride these descents every week, often on tired legs and sometimes in the dark. Here are the techniques they teach riders again and again.
1. Get into the ready position
Everything starts with your body position. Before a rough section:
- stand on the pedals with your cranks level
- bend your knees and elbows, as if you were about to do a push-up
- keep your weight centred over the bottom bracket, not far behind the saddle
- drop your heels slightly to push your weight into the pedals
- keep your chin up and your eyes forward
Think of your arms and legs as extra suspension. They absorb the hits so the bike can move freely beneath you. A common mistake is leaning too far back on steep ground. It takes weight off the front wheel, so it loses grip and steering. Stay centred and move your hips back only as much as the slope needs.
2. Look further ahead than you think
On rocky trails, beginners stare at the rock in front of their wheel. By then it is too late to choose a line. Look three to five seconds ahead, to where you want to be. Your eyes plan the line, and your body follows. Glance down at obstacles only briefly, then lift your eyes again.
3. Choose your line
In the Atlas, there is often a smooth line hidden among the rocks. Look for:
- packed dirt between stones
- the line worn by mules, usually the smoothest
- the outside of a corner, where you can see further
Avoid loose fist-sized rocks if you can, as they roll under the tyre. On wide sections, choose the line early and commit to it. Changing your mind halfway is often what causes a fall.
4. Brake before, not during
Braking is about timing. Do most of your slowing on smoother ground before a rough section, then release the brakes slightly and let the bike roll through. A rolling wheel grips and climbs over rocks much better than a locked one.
- Use both brakes, with smooth, progressive pressure.
- The front brake provides most of your stopping power. Do not be afraid of it, but squeeze it gently, especially on loose ground.
- Never grab a handful of front brake while the wheel is turned or on loose gravel.
- If the rear wheel skids, ease off. Skidding damages trails and gives you less control.
5. Speed is your friend, within limits
This sounds strange, but a little speed often makes rocky trails easier. A bike rolling at a sensible pace floats over small rocks that would stop it dead at walking speed. The trick is to find a speed that feels controlled, not slow and not wild. Build it gradually over the week. Our guides will often ride in front of you at the right pace so you can follow their line.
6. Let the bike move
Hold the grips firmly but not tightly. Let the bike move under you over rocks and drops. A death grip transfers every hit to your arms and makes you tired. Relaxed hands, loose elbows and active legs make a huge difference on long descents.
7. Steps and drops
Many Atlas trails have stone steps, especially near villages. For small steps:
- approach at a steady, moderate speed
- stay centred and look past the step
- as the front wheel rolls off, push the bike slightly forward and let your arms extend
- absorb the landing with your legs
For larger steps, walk them first, look at the line and ride them only when you feel ready. There is no prize for being a hero.
8. Switchbacks
Tight hairpin turns are common on steep mountain paths. They are hard for everyone at first.
- Slow down before the turn, not in it.
- Set up wide on the outside of the corner.
- Look through the turn to the exit, not at the drop.
- Turn the bars and lean the bike more than your body.
- If it is too tight, put a foot down or walk. Many experienced riders do.
9. Dust, gravel and sand
Loose surfaces need a lighter touch. Avoid sudden braking or steering, keep your weight centred and let the bike drift slightly. Our post on loose gravel and dusty trails covers this in detail.
10. Manage fatigue
Long descents are tiring, especially for your hands and forearms. Stop and shake out your arms before you get exhausted. Most crashes happen when riders are tired and lose concentration, often near the end of the day. Our guides plan regular stops for exactly this reason.
Your bike set-up matters
- Tyres: wide, grippy and run at lower pressures than on road, ideally tubeless.
- Suspension: correct sag and rebound settings make a big difference. Ask your guide to check them.
- Brakes: well-bled hydraulic brakes with fresh pads.
- Dropper post: if you have one, use it. Getting the saddle out of the way makes steep sections much easier.
Read hardtail vs full suspension for more on choosing the right bike.
Protection
A good helmet is essential. Gloves are strongly recommended. Many riders also wear knee pads on rocky Atlas trails. See choosing the right helmet and protective gear.
The guide's final tip
"Ride the trail you can see, not the trail you fear." Stay relaxed, look ahead, brake early and smile. Confidence builds every day, and by the end of the week most riders are riding sections that scared them on day one.